How to Make a History Timeline for Your Wall
Learn how to make your own history timeline for your wall with this step-by-step tutorial!
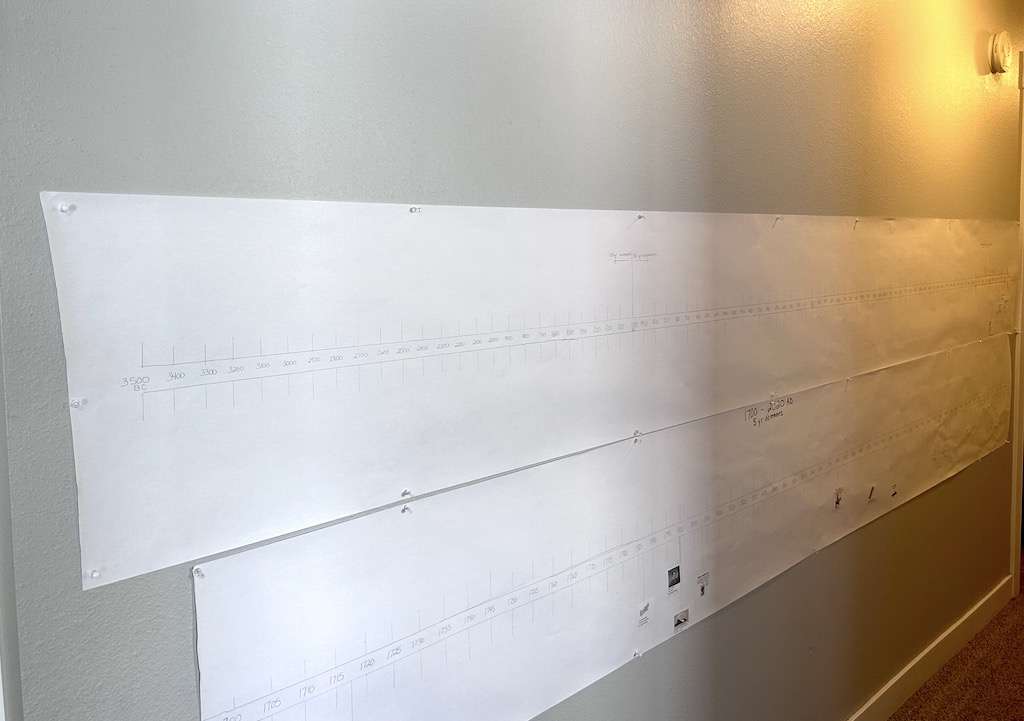
Adding a huge history timeline to our wall has been an amazing addition to our homeschool resources! Anytime my kids learn about a historical event or figure, we try adding it to our timeline! We’ve even added the date the first escalator was invented!
Why use a history timeline?
Timelines are a great way to give a linear and visual representation of historical events. Children often struggle with how long ago an event occurred especially if you do not teach history in a chronological manner. Since we like to follow the kids’ interests as it keeps them more engaged, our history is not studied chronologically.
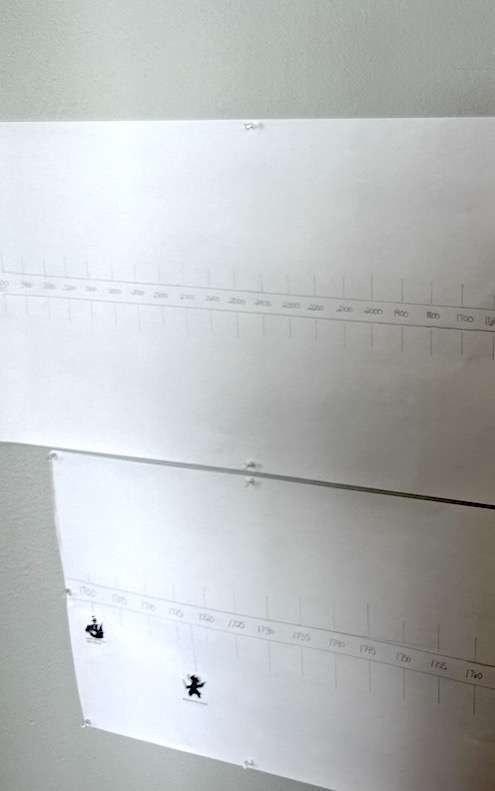
A historical timeline displayed on our wall provides us with a contextual framework for dates – such as whether the invention of the escalator predates or postdates our grandmother’s birth, for instance. Recently, we added the Titanic to our timeline, and they noticed that we didn’t have much “way back,” as they pointed to the main timeline and around 2500 BC, so now we’ll be looking for something historical from that time period, so we can add to our wall!
Not only will children be able to identify patterns in history, but they will also have the ability to connect various events that occurred in different locations during the same time period.

too busy to make it?
pin it for later to your favorite pinterest board
Preparing to Make A History Timeline
Although the instructions for this history timeline may seem intricate, once you start working on it, I assure you that it is not as challenging as it seems. Also, keep in mind that the final product does not have to be perfect! Not to mention if I, the last crafty person you’ll ever meet, can do this anyone can!
To start, find a long empty wall in your house. I used the hallway wall in our basement that didn’t happen to have any pictures on it. You will need a 12-foot wall to work with. If you’re lucky enough to have a dedicated schoolroom, this will make an excellent visual aid to your room!
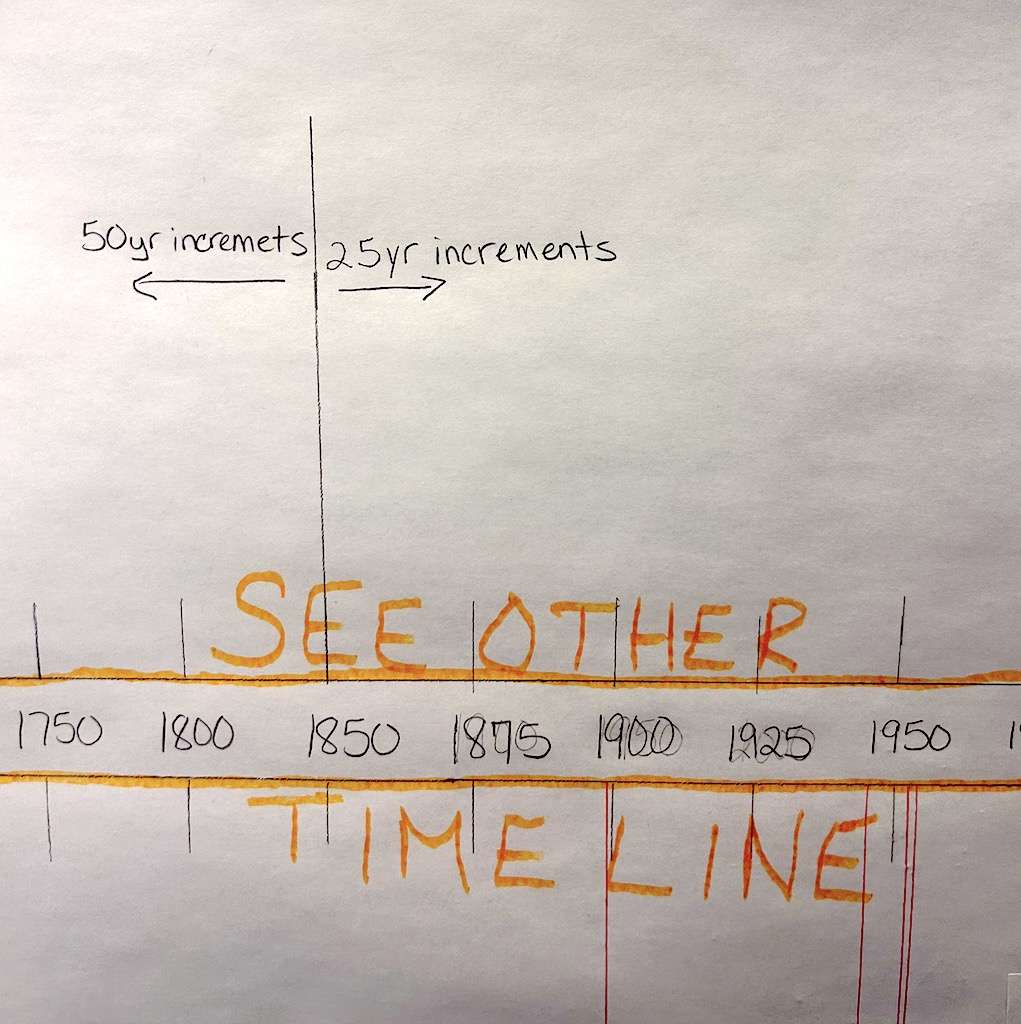
These instructions make two history timelines – one that goes from 3500 BC to about 2020 AD and the 2nd goes from 1700 AD to the present. To accommodate the significant historical events that occurred after 1700, I utilize two separate timelines, with a larger one specifically for this period of time. I highlighted the time period of the 2nd history timeline on the first timeline as you can see in the image below.
Grab your supplies:
Tape Measure – Go grab one out of the garage or the junk drawer!
Roll of Craft Paper – I bought this randomly one day and I do not know how I homeschooled so long without a roll of craft paper! Seriously, this stuff is awesome, and the kids love it!
Pencils/Markers – I really suggest using a pencil, to begin with!
Tape – Any kind of tape will work. You’ll need to hold your paper down while you work on your timeline.
Scissors
Push pins, tape, etc. – You’ll need something to hang your timeline with. I used push pins to hang mine, and it’s been up for months so far, and I’ve only had to put the pins in a few times.
You might also like…
Notgrass Our 50 States Recipe Collection
To Make the Timeline
Find a large enough wall to hang your history timeline on. I suggest a hallway, which is where ours is.
Measure and cut a 12-foot piece of craft paper. Roll out your craft paper and tape the corners down.
Find the center of the paper by measuring from the top to the bottom and make a small mark on each end.
Lay your measuring tape lengthwise in the middle of the paper using the previously made marks on either end to find the center. Adjust the center if necessary.
Carefully, trace along the top and bottom of the measuring tape to create two parallel lines through the middle of the paper.
Leaving the measuring tape in the middle, carefully measure and mark off 1 1/2-inch sections. Your first section should be an inch from the edge to give you some room to hang.
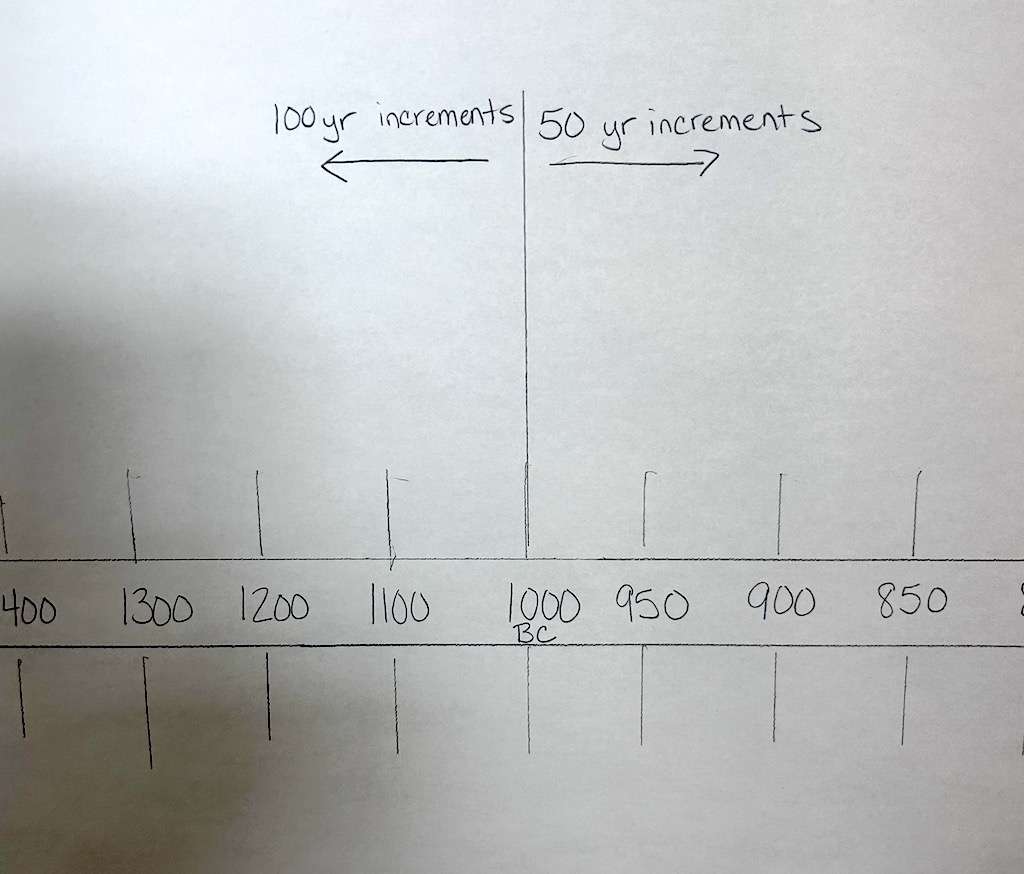
Remove the measuring tape and add the dates to the timeline starting at 3500 BC and going to 1000 BC using 100-year increments. After 1000 BC, begin using 50-year increments until you reach 1700, then begin using 25-year increments.
Measure and cut an 11-foot piece of craft paper for the 2nd timeline and repeat the steps above but do not add the dates.
Leaving the measuring tape in the middle, carefully measure and mark off 2-inch sections. Your first section should be an inch from the edge to give you some room to hang.
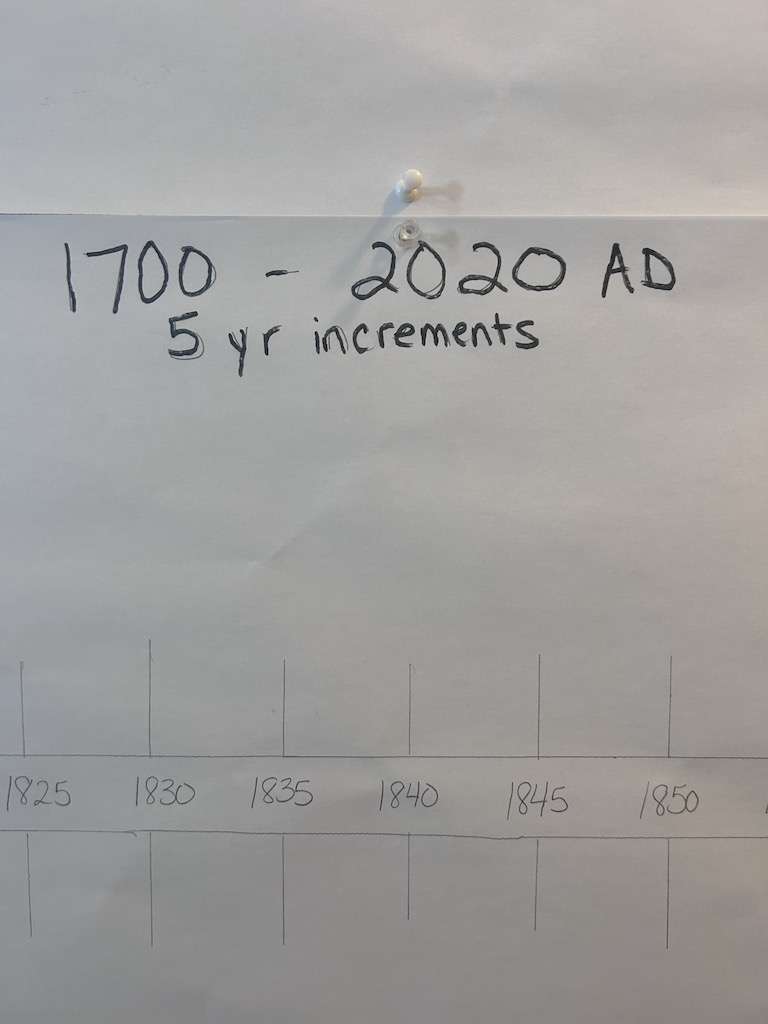
Remove the measuring tape and add the dates to the timeline starting at 1700 AD and going to 2020 using 5-year increments.
If you’d like, go back and trace your dates with a marker.
Hang your new history timelines and begin adding important family birthdates and timeline figures!
Create A Historical Timeline for A Wall
Equipment
- [Scissors]
- [Measuring Tape]
- [Pencil]
Ingredients
Instructions
- Find a large enough wall to hang your timeline on. I suggest a hallway, which is where ours is.
- Measure and cut a 12-foot piece of craft paper.
- Roll out your craft paper and tape the corners down.
- Find the center of the paper by measuring from the top to the bottom and make a small mark on each end.
- Lay your measuring tape lengthwise in the middle of the paper using the previously made marks on either end to find the center. Adjust the center if necessary.
- Carefully, trace along the top and bottom of the measuring tape to create two parallel lines through the middle of the paper.
- Leaving the measuring tape in the middle, carefully measure and mark off 1 1/2-inch sections. Your first section should be an inch from the edge to give you some room to hang.
- Remove the measuring tape and add the dates to the timeline starting at 3500 BC and going to 1000 BC using 100-year increments.
- After 1000 BC, begin using 50-year increments until you reach 1700, then begin using 25-year increments.
- Measure and cut an 11-foot piece of craft paper for the 2nd timeline.
- Repeat steps 3-6.
- Leaving the measuring tape in the middle, carefully measure and mark off 2-inch sections. Your first section should be an inch from the edge to give you some room to hang.
- Remove the measuring tape and add the dates to the timeline starting at 1700 AD and going to 2020 using 5-year increments.
- Hang your timeline and begin adding important family birthdates and timeline figures!
Nutrition
Conclusion
Making a timeline for your wall is a great way to take a trip through history in the comfort of your own home. It’s fairly easy to do and provides a great visual illustration to accompany your history studies. Plus, when it’s all finished you’ll have something unique that no one else has—a timeline that’s linked directly to your history studies!


