Strawberry Cheesecake – No Bake Dessert Recipe
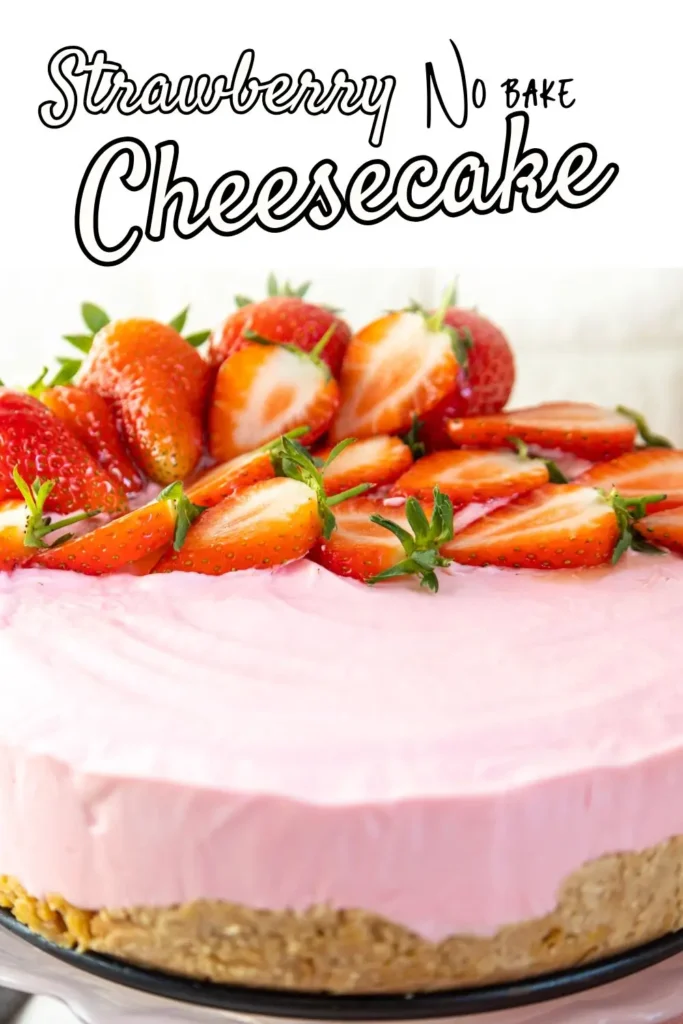
There’s nothing quite like the combination of creamy cheesecake and fresh strawberries—especially when you don’t even need to turn on the oven! This no-bake strawberry cheesecake has quickly become a family favorite in my house.
No matter if it’s for a lovely Valentine’s Day treat with my partner or a fun baking afternoon with my daughters, it’s always a hit. Plus, it’s so simple to make, that you’ll wonder why you ever bothered with baked cheesecakes in the first place!
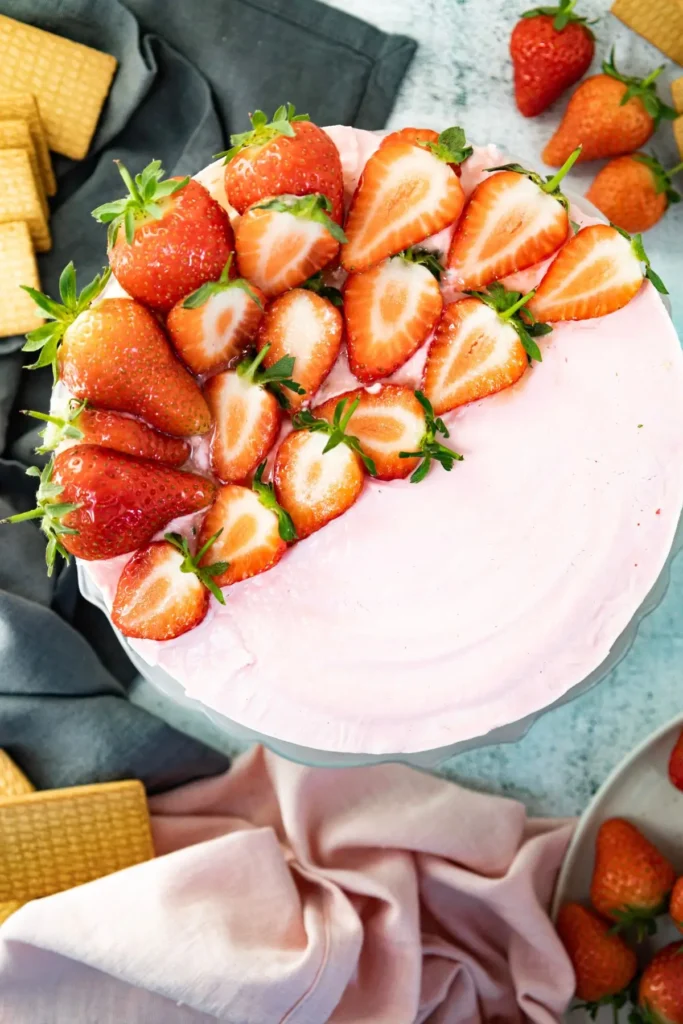
How to Make Strawberry Cheesecake
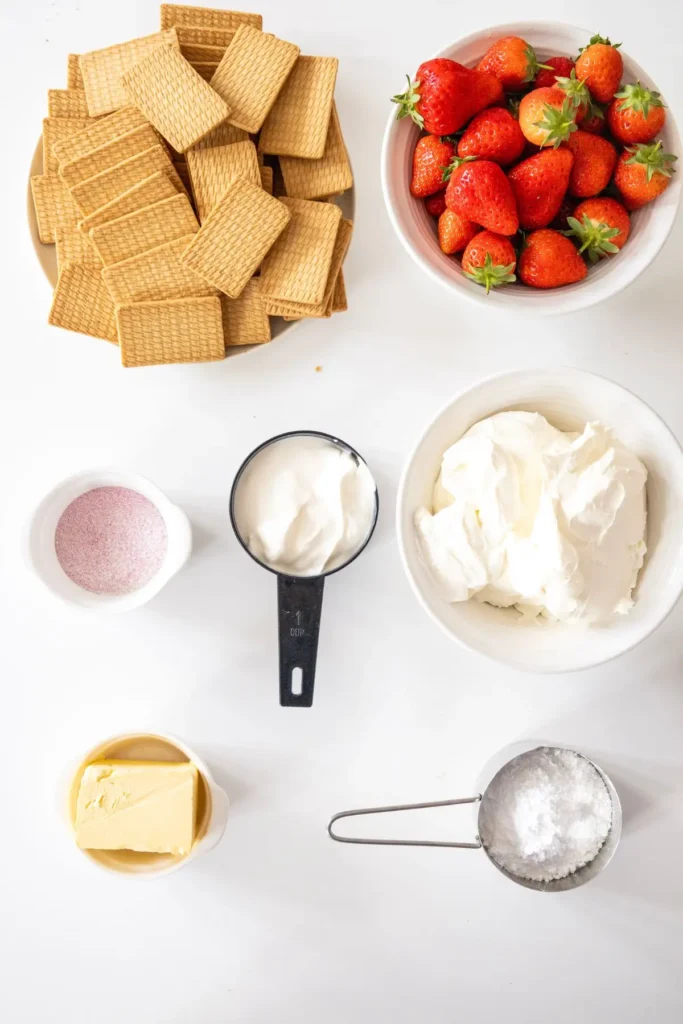
Tools You’ll Need
- Rolling pin and plastic bag (for crushing cookies)
- Saucepan (for melting butter)
- Mixing bowl and electric mixer
- 8-inch springform pan
- Spatula
Step-by-Step Instructions
Step 1: Prepare the Crust
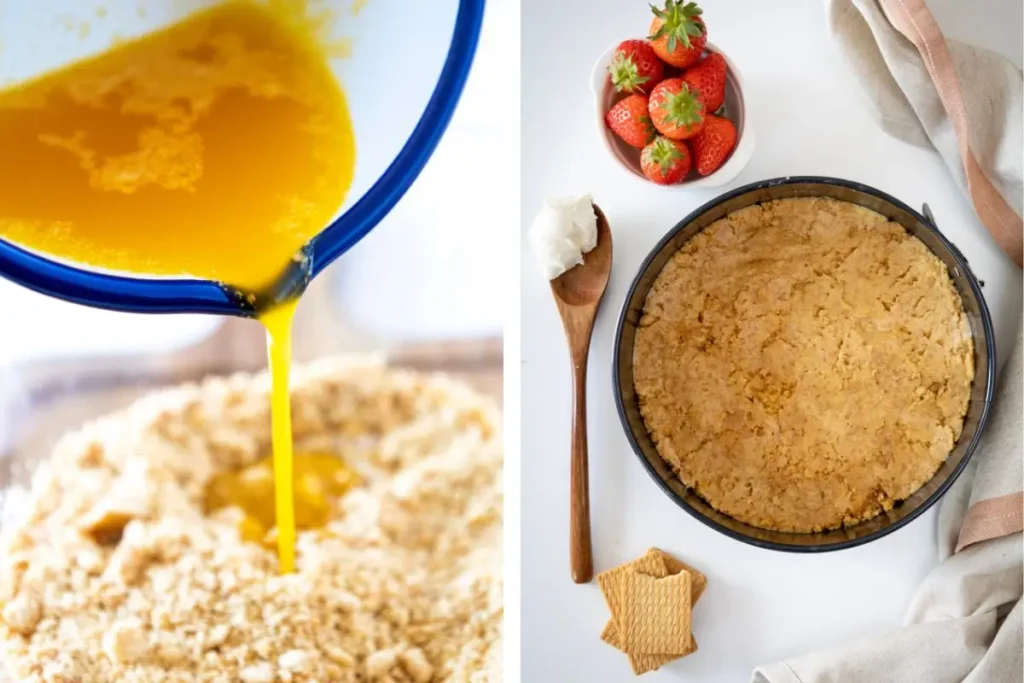
Start by crushing the cookies into fine crumbs. I like to pop them into a plastic bag and let my daughters have fun with a rolling pin—it’s a great way to keep them entertained while I prep!
Mix the butter over low heat and the crushed cookies until fully combined. Press the mixture firmly into the bottom of an 8-inch springform pan to form your crust. Pop it into the fridge for about 20 minutes to set.
Step 2: Make the Filling
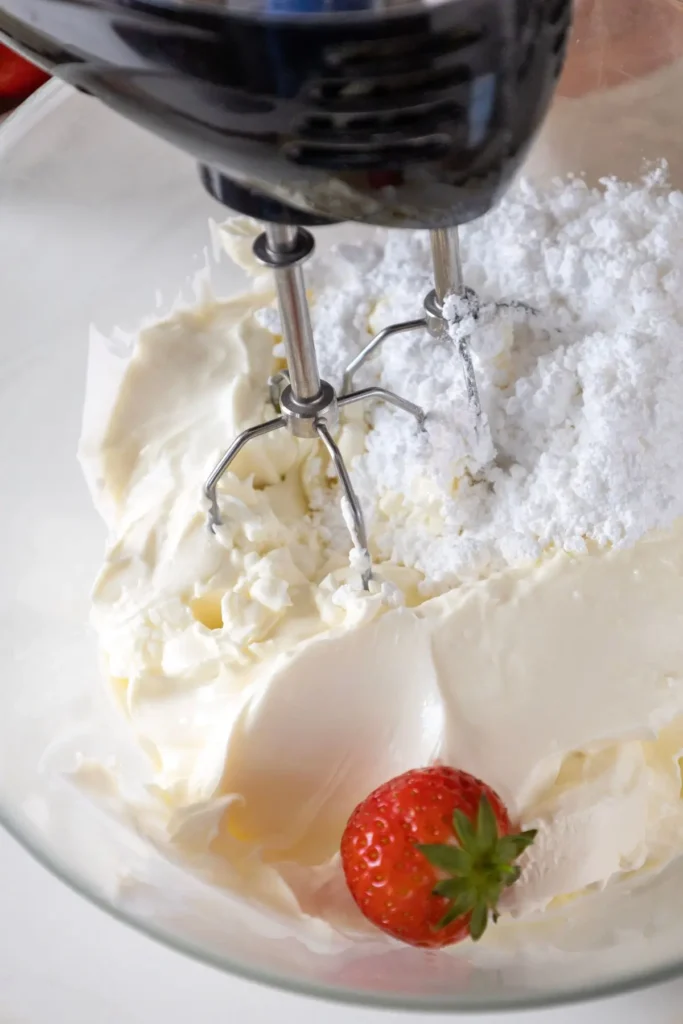
In a mixing bowl, beat together the powdered sugar, heavy cream, whipping cream, and cream cheese until smooth and creamy. This step is so satisfying—it always feels like magic when the ingredients come together into that silky texture.
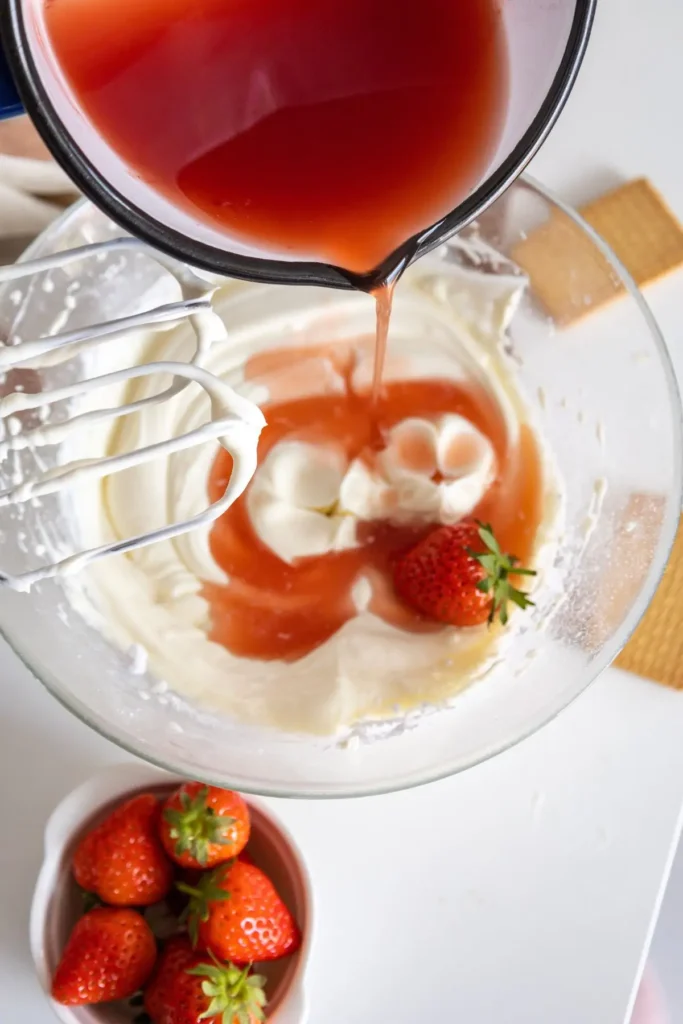
Step 3: Add the Strawberry Gelatin
Prepare the Strawberry Gelatin according to the package instructions and let it cool slightly. Then, pour it into the cream cheese mixture and mix until everything is fully blended.
The gelatin gives the cheesecake a light, airy texture while boosting the strawberry flavor.
Step 4: Assemble the Cheesecake
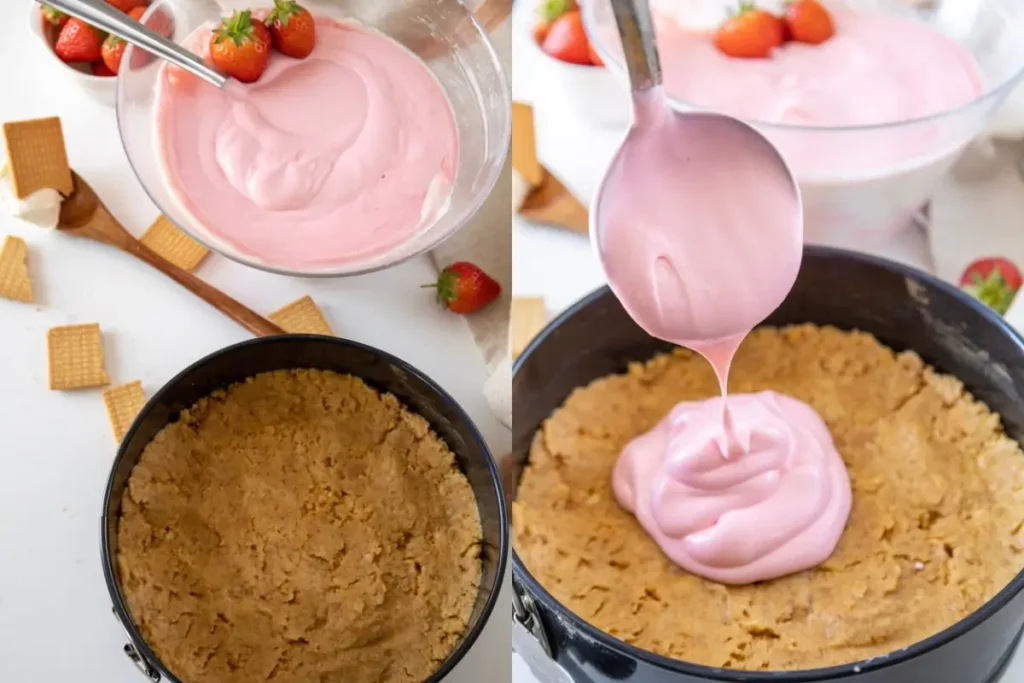
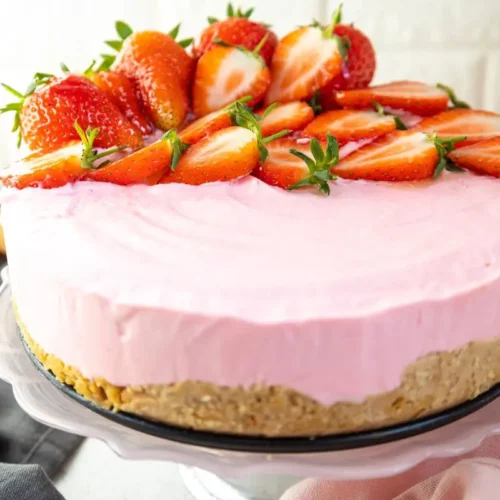
Spread the cheesecake filling evenly over the prepared crust. For the topping, you can either arrange whole strawberries for a classic look or dice them up and scatter them over the top—whatever makes you happiest!
Step 5: Chill and Serve
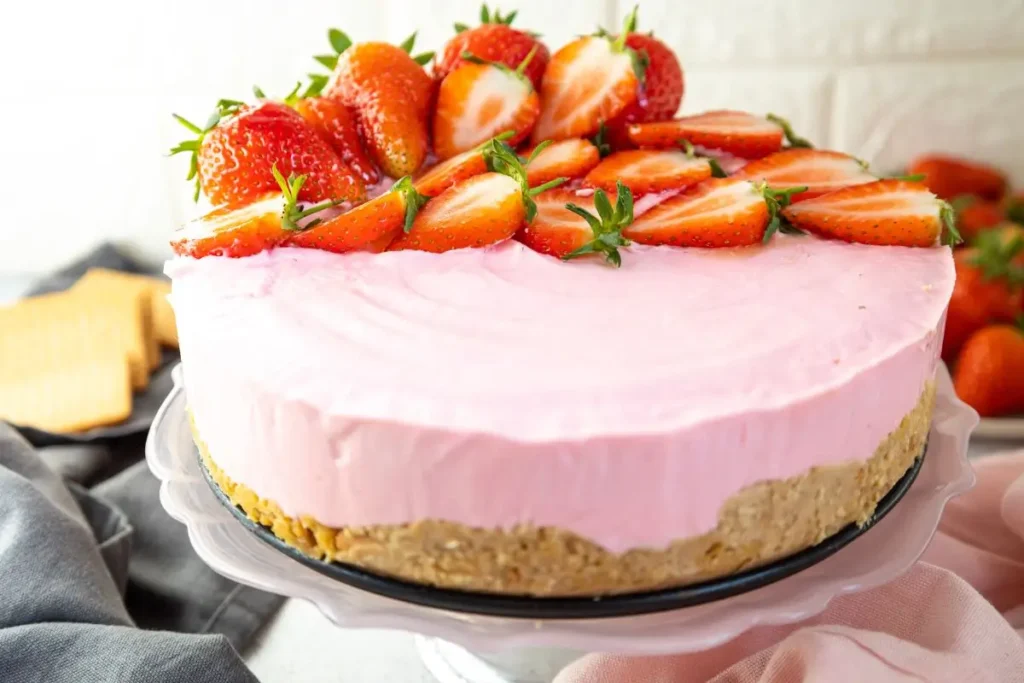
Refrigerate the strawberry cheesecake for at least 4 hours or, if you have time, overnight. This lets the filling set perfectly. When it’s time to serve, slice it up and enjoy! I promise it’s worth the wait.
Tips for Success
- Cookie Variations: Experiment with different cookies for the crust. Oreo cookies, digestive biscuits, or even ginger snaps can give your cheesecake a unique twist.
- Make It Ahead: This recipe is perfect for preparing the night before a gathering. It keeps well in the fridge for up to three days.
- Garnish Ideas: Add a drizzle of chocolate or some whipped cream for an extra touch of indulgence.
Customization and Variations
- Alternative Crusts: Try crushed Oreos for a chocolaty twist or almond flour for a gluten-free option.
- Seasonal Toppings: Swap strawberries for raspberries, peaches, or even cranberries depending on the time of year.
- Mini Cheesecakes: Use muffin tins to make individual servings—great for parties or portion control.
Storage and Freezing Tips
If you have leftovers (rare in my house!), store them in an airtight container in the fridge for up to three days. Want to save it for later? Freeze individual slices in plastic wrap, then place them in a freezer-safe container. To serve, let the slices thaw in the fridge overnight.
Pairing Suggestions
This strawberry cheesecake pairs beautifully with:
- Drinks: A chilled glass of rosé or a cup of herbal tea.
- Sides: Light fruit salad or a dollop of whipped cream.
Fun Extras
- Kid-Friendly Tips: Let your kids crush the cookies or help arrange the strawberries on top—it’s a great way to involve them in the kitchen.
- Cheesecake Trivia: Did you know cheesecake dates back to Ancient Greece? It was even served to athletes at the first Olympic Games!
FAQ Section
Can I use frozen strawberries?
Yes, but make sure to thaw and pat them dry to avoid excess moisture.
How long will this last in the fridge?
It’ll stay fresh for up to three days when stored in an airtight container.
Can I make this strawberry cheesecake ahead of time?
Absolutely! It’s even better after chilling overnight.
This no-bake strawberry cheesecake is a go-to dessert for any occasion. It’s quick, simple, and absolutely delicious. If you’re making it for a romantic dinner, a family gathering, or just because, it’s sure to impress.
Here are some other No bake dessert ideas for you:
Give it a try and let me know how it turns out—I’d love to hear your thoughts and see your creations!
No Bake Strawberry Cheesecake
Ingredients
- 2 cups crisp cookies graham crackers
- ½ cup butter
- 1 cup powdered sugar
- 3 packages cream cheese Philadelphia
- 1 cup heavy whipping cream
- 1 ½ cup strawberries
- 3 oz Strawberry Gelatin
Instructions
- Prepare the CrustStart by crushing the cookies into fine crumbs. Mix the butter over low heat and the crushed cookies until fully combined. Press the mixture firmly into the bottom of an 8-inch springform pan to form your crust. Pop it into the fridge for about 20 minutes to set.
- Make the FillingIn a mixing bowl, beat together the powdered sugar, heavy cream, whipping cream, and cream cheese until smooth and creamy. This step is so satisfying—it always feels like magic when the ingredients come together into that silky texture.
- Add the Strawberry GelatinPrepare the Strawberry Gelatin according to the package instructions and let it cool slightly. Then, pour it into the cream cheese mixture and mix until everything is fully blended. The gelatin gives the cheesecake a light, airy texture while boosting the strawberry flavor.
- Assemble the CheesecakeSpread the cheesecake filling evenly over the prepared crust. For the topping, you can either arrange whole strawberries for a classic look or dice them up and scatter them over the top—whatever makes you happiest!
- Chill and ServeRefrigerate the cheesecake for at least 4 hours or, if you have time, overnight. This lets the filling set perfectly. When it’s time to serve, slice it up and enjoy! I promise it’s worth the wait.
