Molten Lava Chocolate Cake
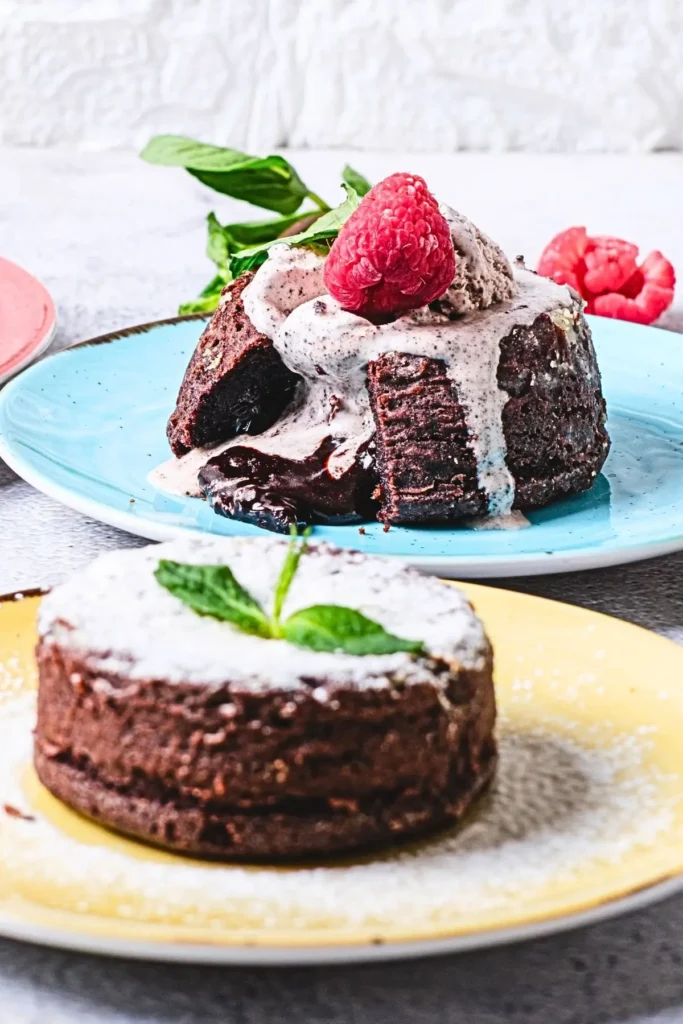
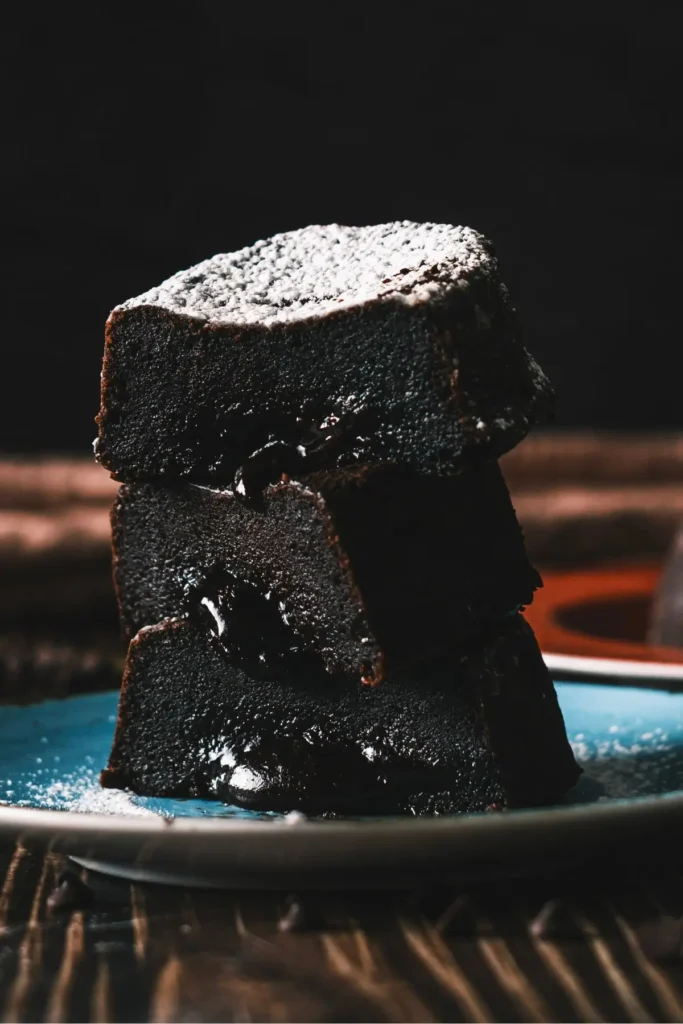
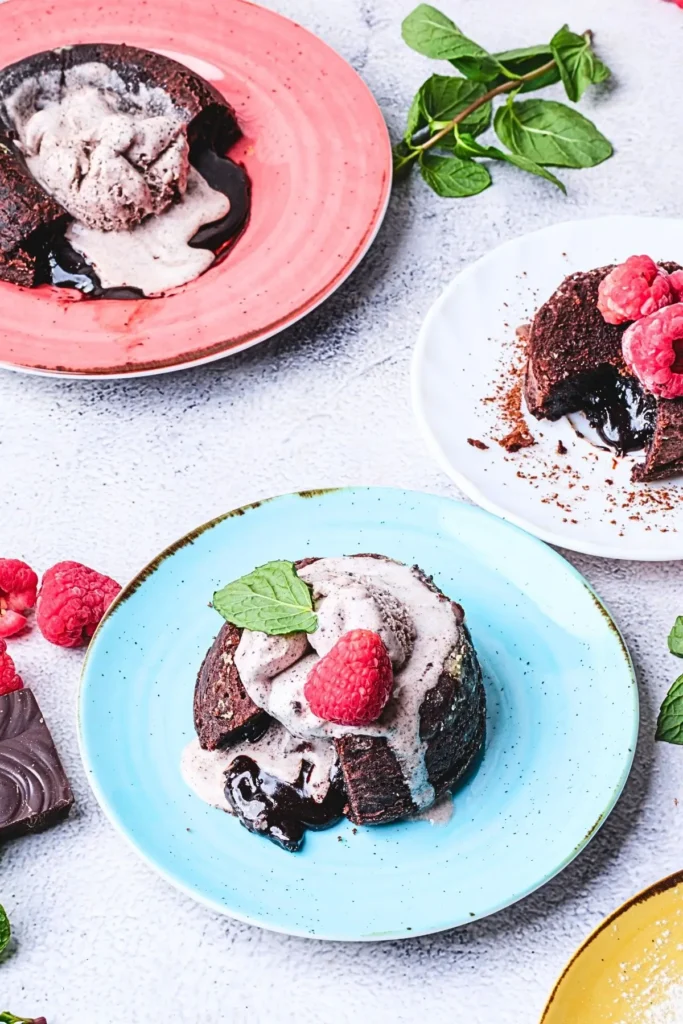
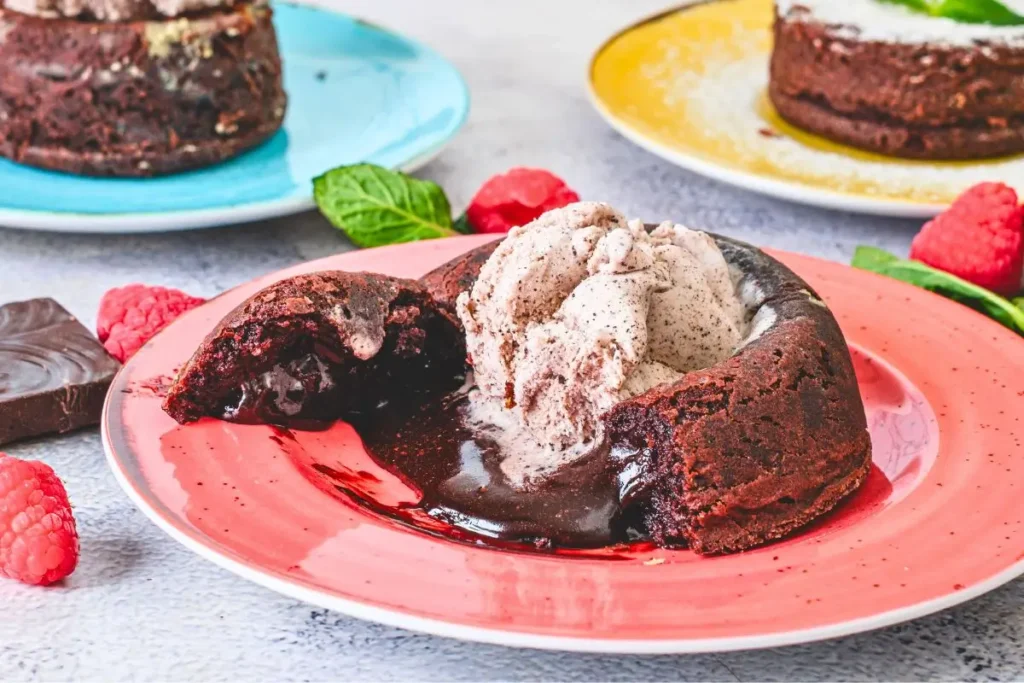
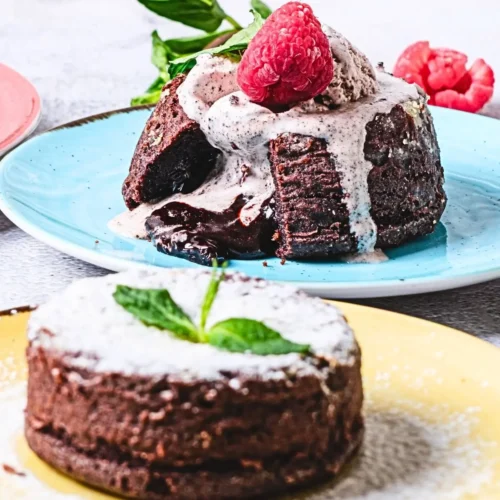
There is something truly magical about Molten Lava Chocolate Cake. Seeing that chocolate oozes out like lava doesent only excite kids, but adult chocolate lovers too, like me!
As a passionate dessert fan, this recipe is probably one of the top choices when I crave an amazing showstopper dessert.
Why Is Molten Lava Cake Amazing?
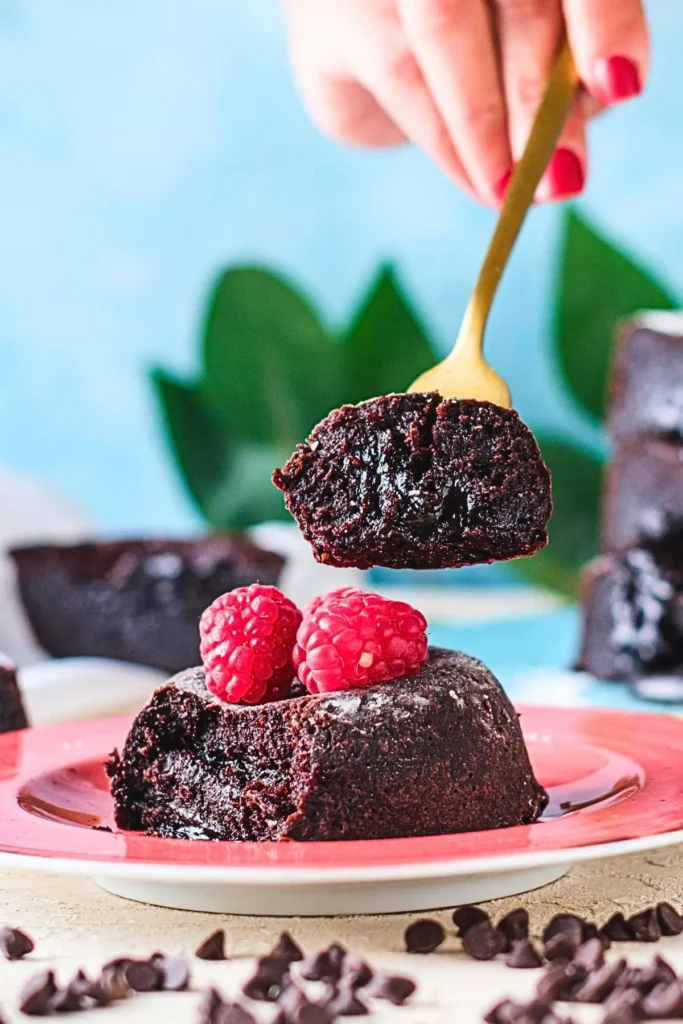
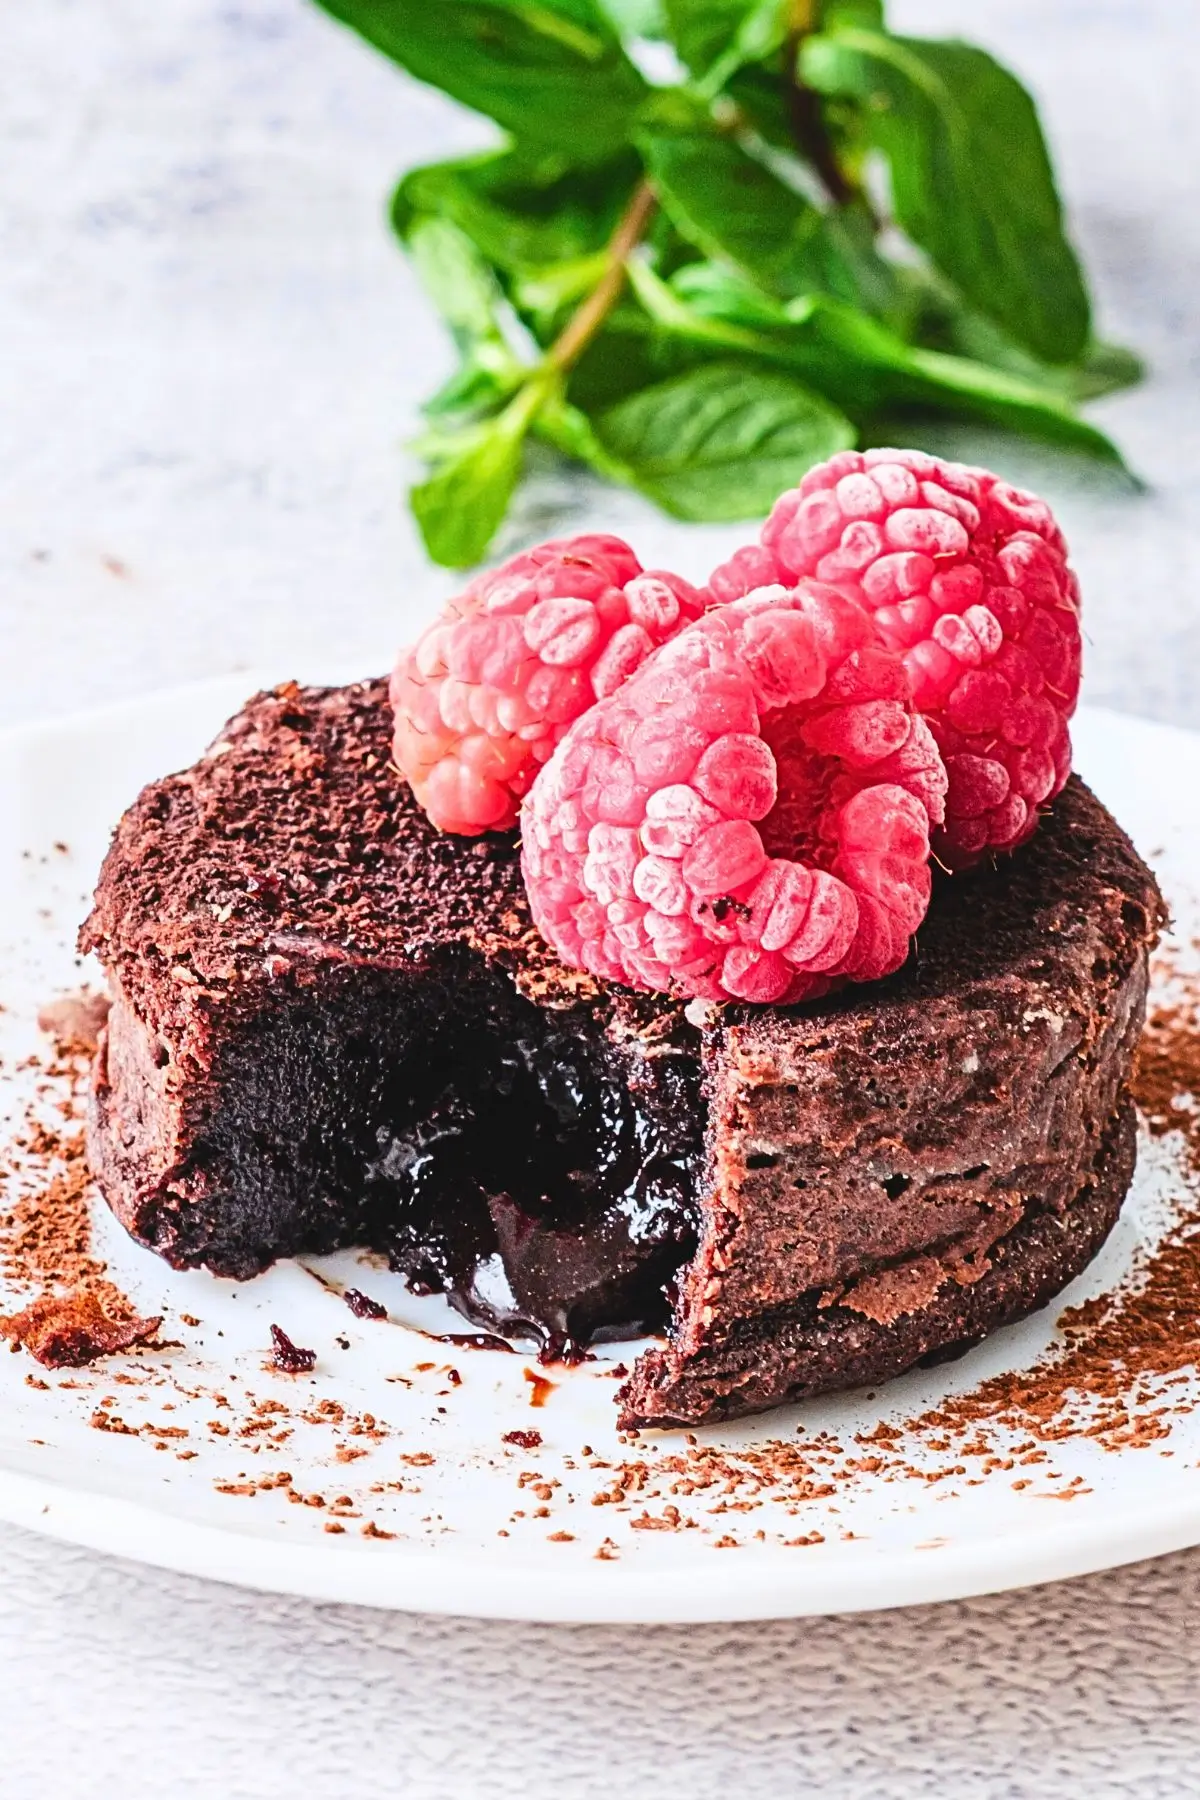
This Molten Lava Chocolate Cake is more than just a dessert—it’s so much fun to eat! The outside is warm and a little crispy, but the inside is soft and melty, like a chocolate explosion in every bite.
Best of all, it’s super simple; you only need a few ingredients to make something that tastes like it came from a fancy restaurant. When you cut it open and the chocolate flows out, everyone will think you’re a baking expert!
Ingredients
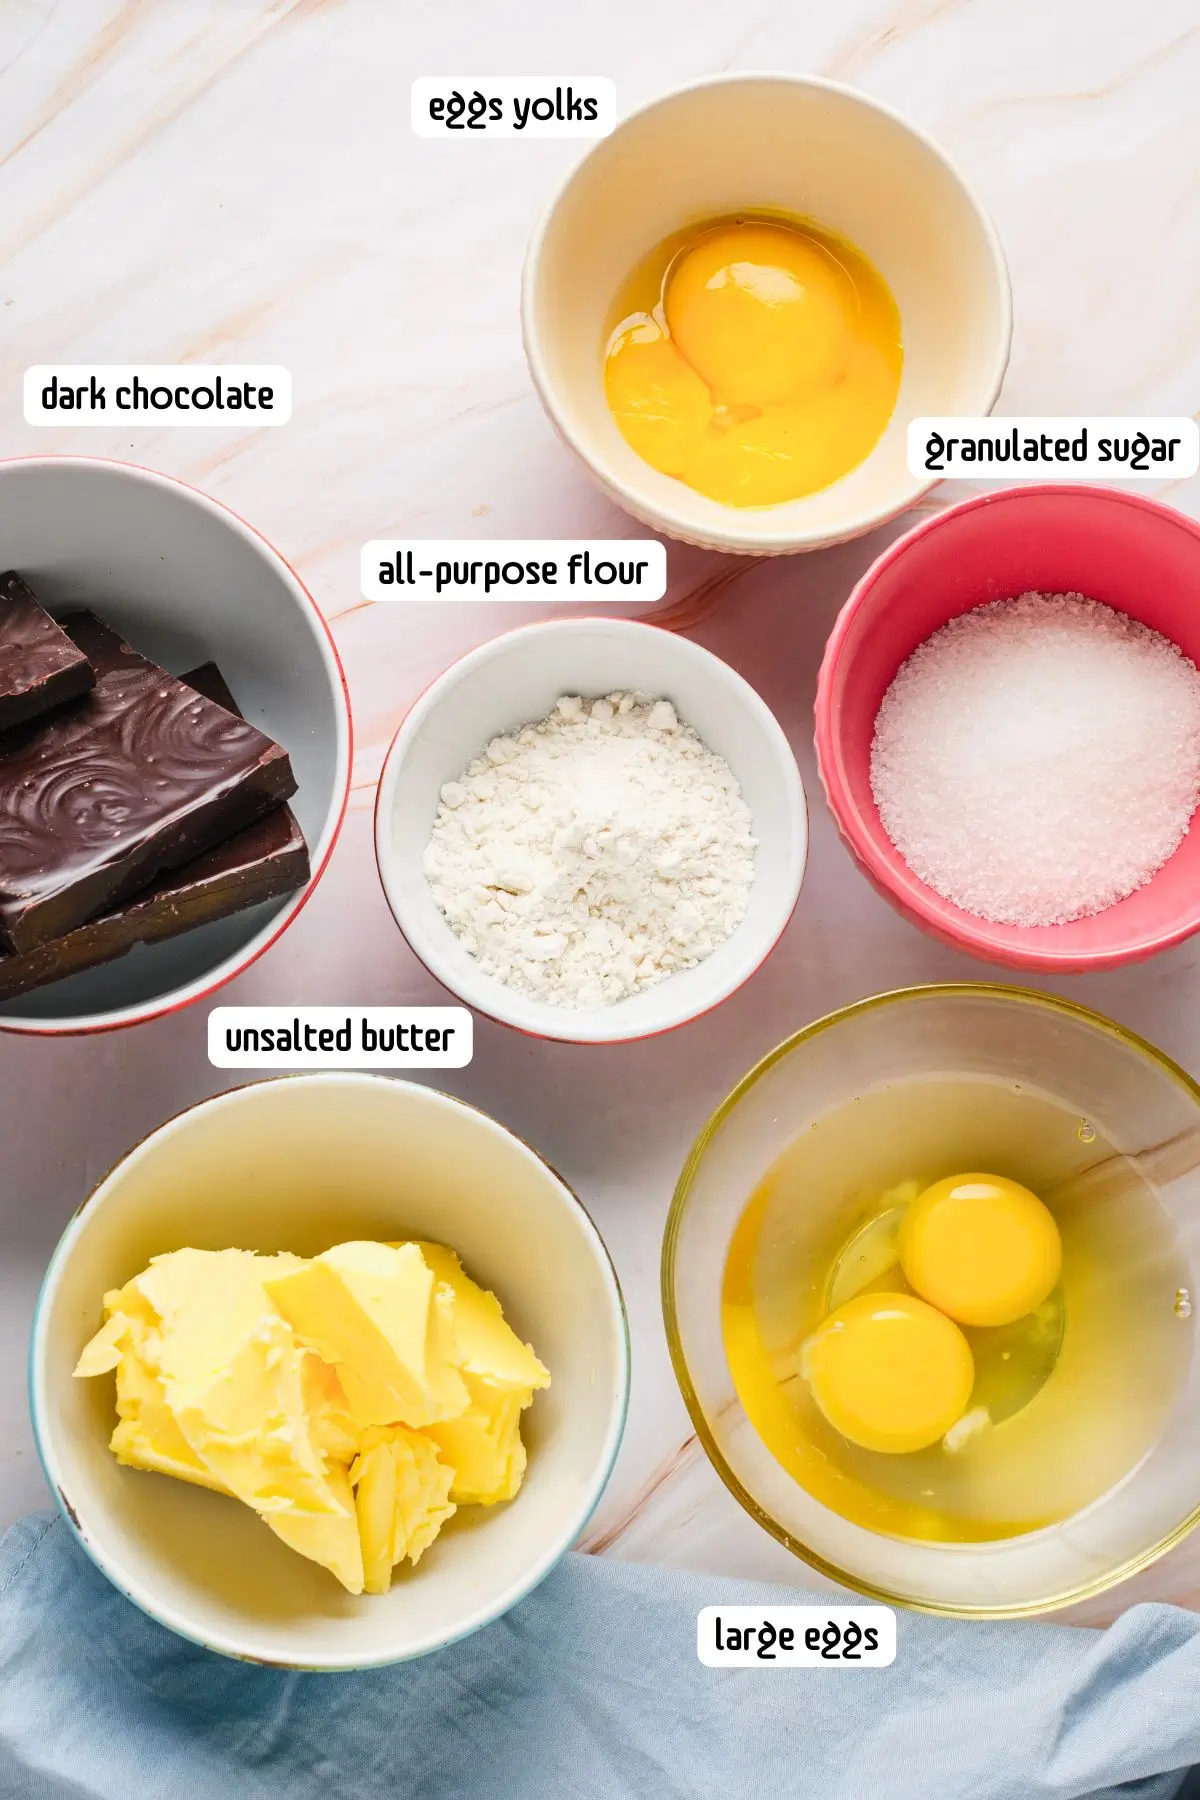
- 4 oz unsalted butter, plus extra for greasing the ramekins
- 2 tablespoons all-purpose flour, plus more for dusting the ramekins
- 6 oz dark chocolate (go for quality here—it makes a difference!)
- 2 large eggs, room temperature
- 2 large egg yolks, room temperature
- 1/4 cup granulated sugar
- 1/4 teaspoon salt
If you like this Lava Cake, I am sure you will adore these Mini Tiramisu cakes too as perfect single served desserts! 😉
How to Make It
Step 1: Prepare the Ramekins
Preheat your oven to 450°F (230°C). Generously butter four 6-ounce ramekins and give them a light dusting of flour. Tap out any excess flour and set the ramekins on a baking sheet.
Pro Tip: Don’t skimp on the butter and flour here. A thorough coating is your best friend—it’ll make unmolding the cakes so much easier, saving you from any dessert disasters!
Step 2: Melt the Chocolate and Butter
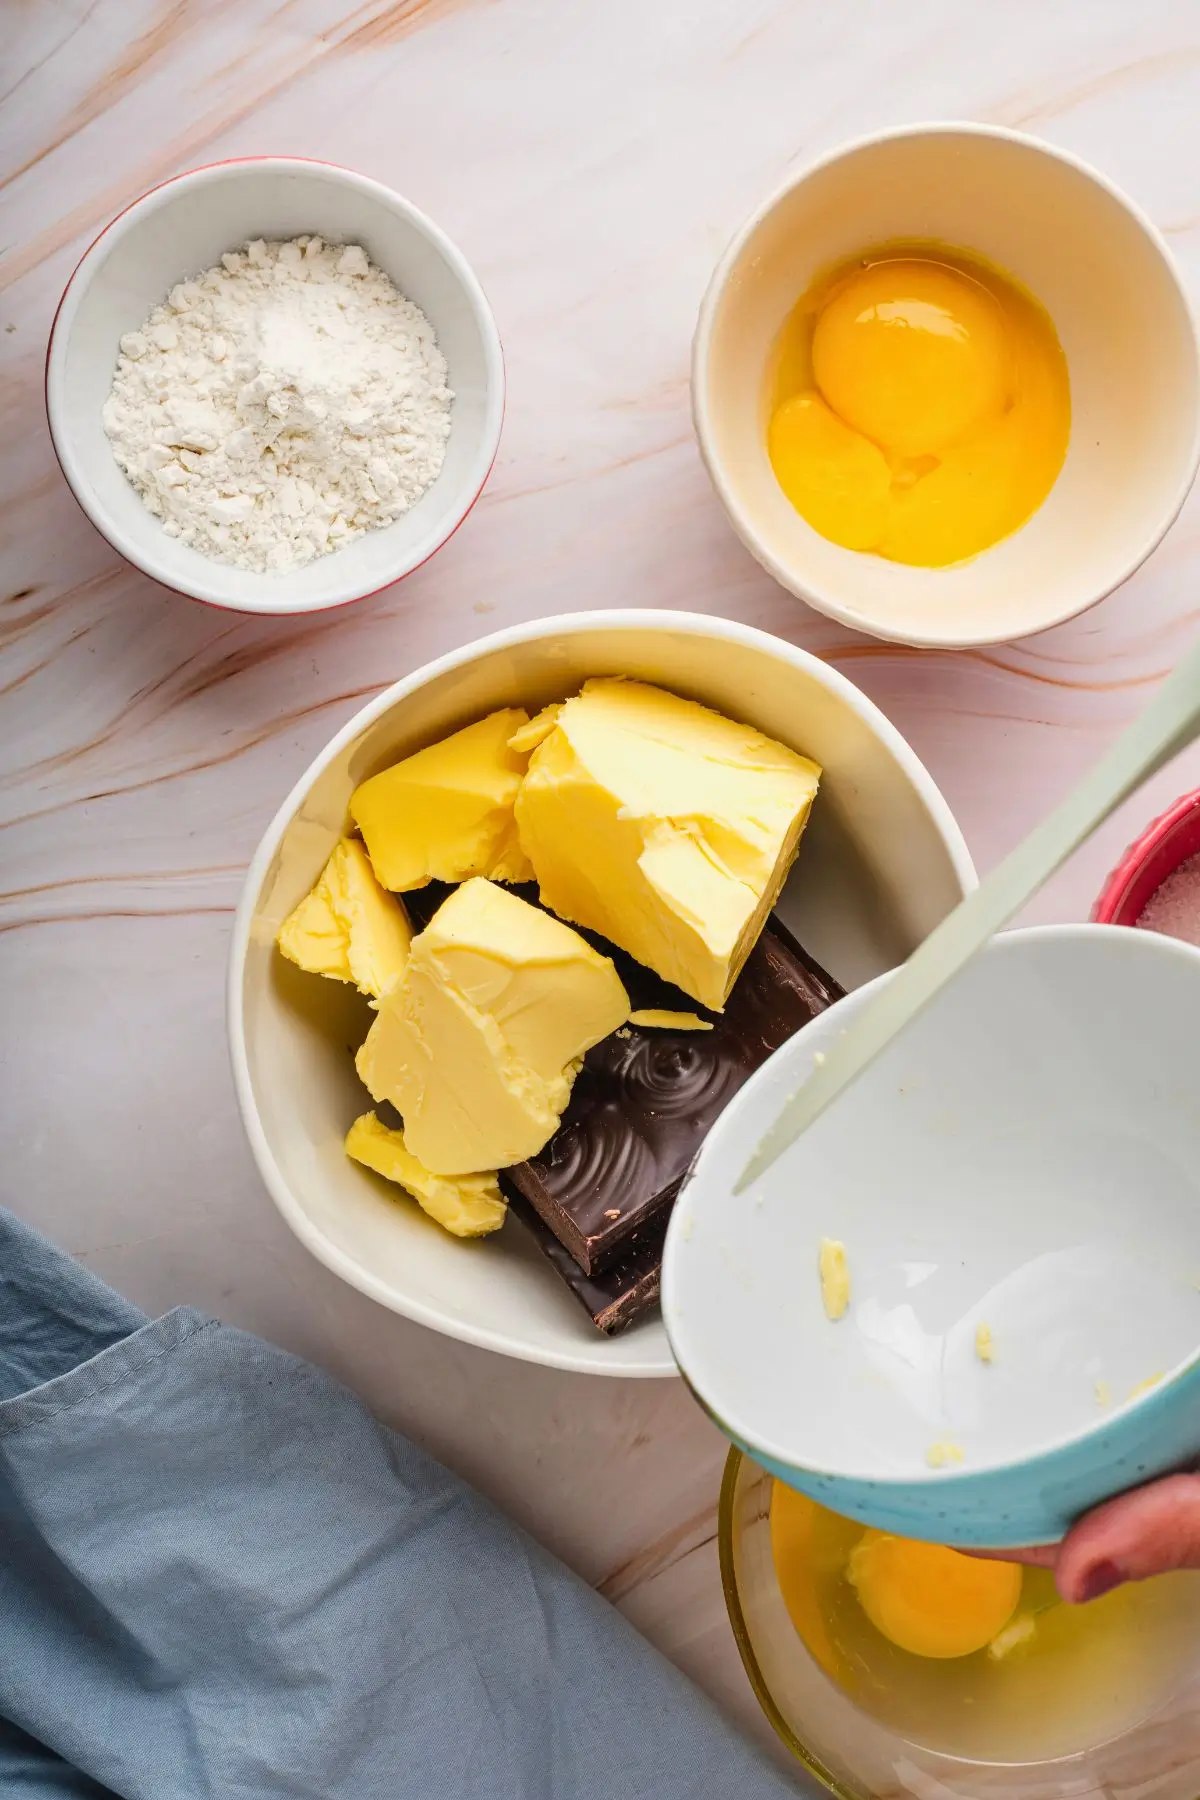
In a microwave-safe bowl, combine the butter and dark chocolate. Melt them in the microwave, stirring every 10 seconds until smooth—this usually takes about 20 seconds total. Set aside to cool slightly.
Pro Tip: Splurge on good-quality dark chocolate with at least 70% cocoa. It gives the cakes a rich, intense flavor that’s worth every bite.
Step 3: Beat the Eggs and Sugar
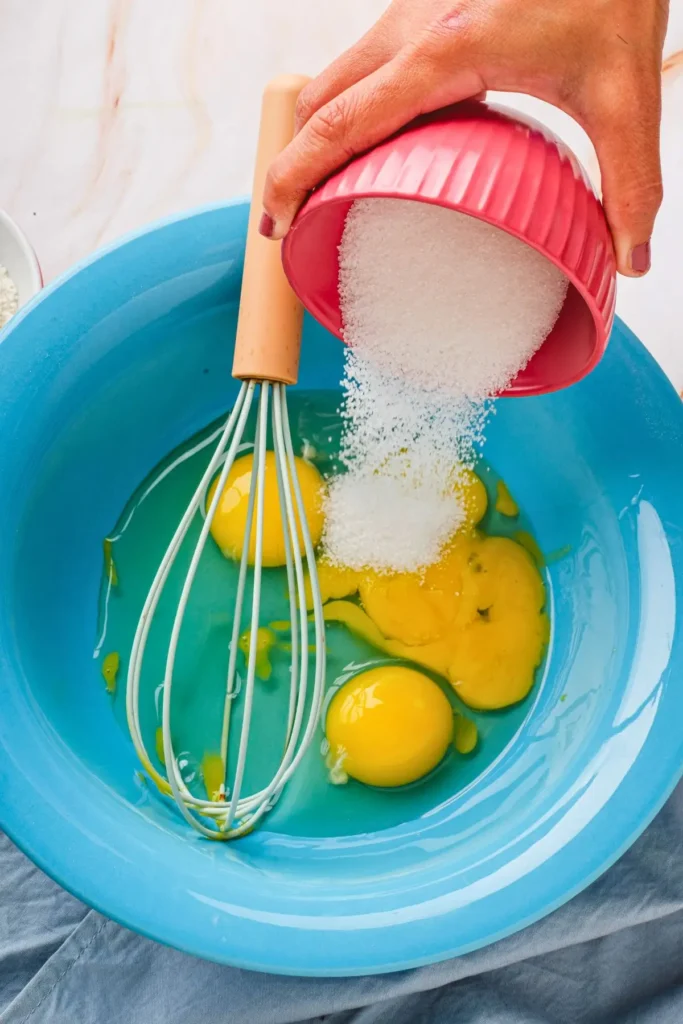
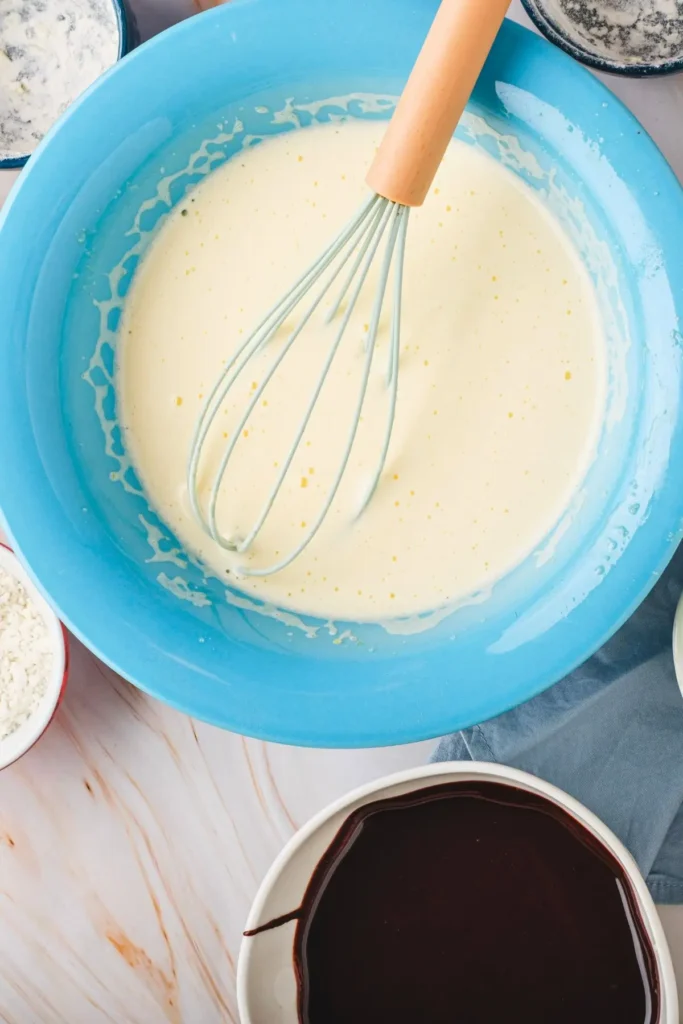
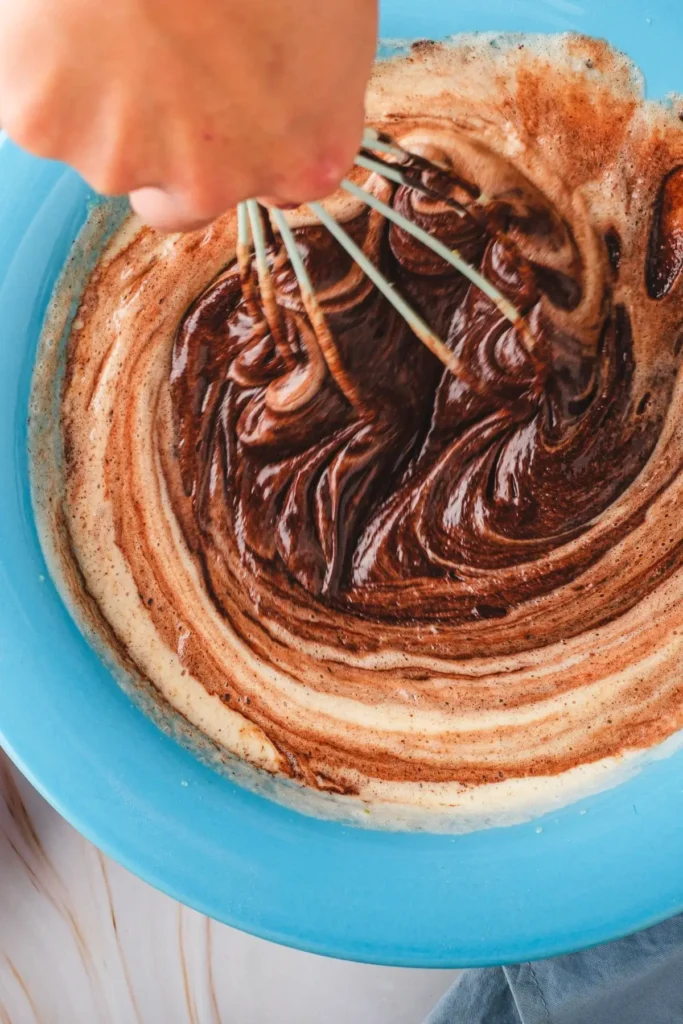
In a medium bowl, use an electric mixer with a whisk attachment (or a hand mixer) to beat the eggs, egg yolks, sugar, and salt on high speed. Keep going until the mixture is thickened and pale—about 2–3 minutes with an electric mixer, or closer to 7 minutes by hand.
Pro Tip: This step is key for that dreamy texture. Beat until the mixture forms a thick, pale ribbon that holds its shape. Don’t rush it—it’s worth the effort for light, airy cakes. You’ve got this!
Step 4: Combine Ingredients
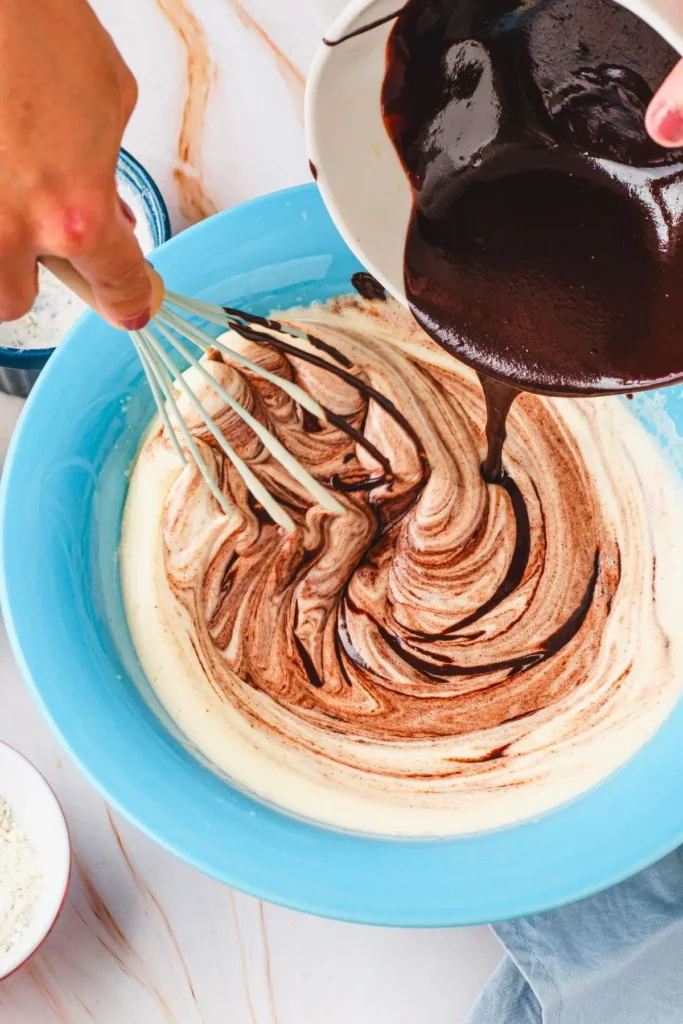
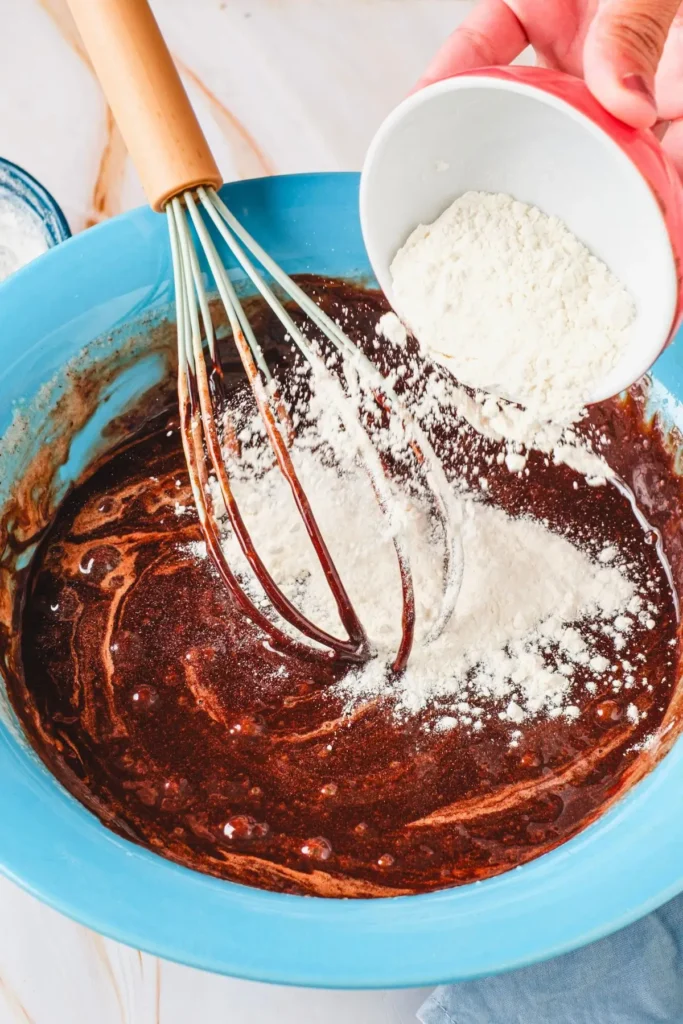
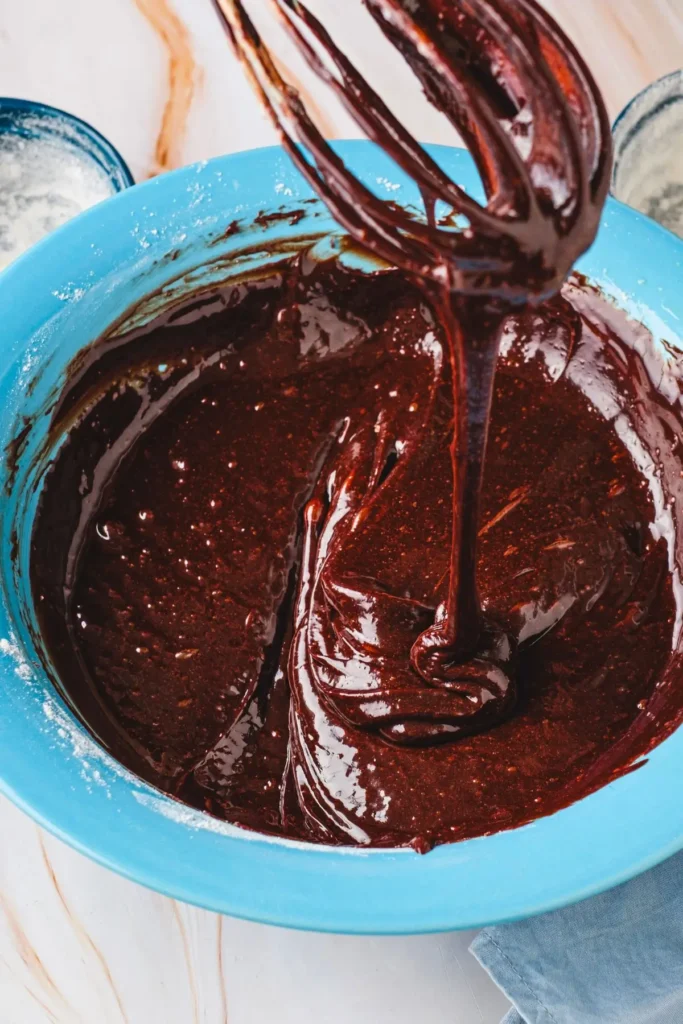
Gently fold the melted chocolate mixture into the egg mixture. Sprinkle in the flour and mix carefully until everything’s fully combined, with no streaks left behind.
Pro Tip: Fold with a gentle hand here—think of it like tucking in the batter. Overmixing can deflate the eggs and leave you with dense cakes, so keep it light and easy.
Step 5: Fill the Ramekins
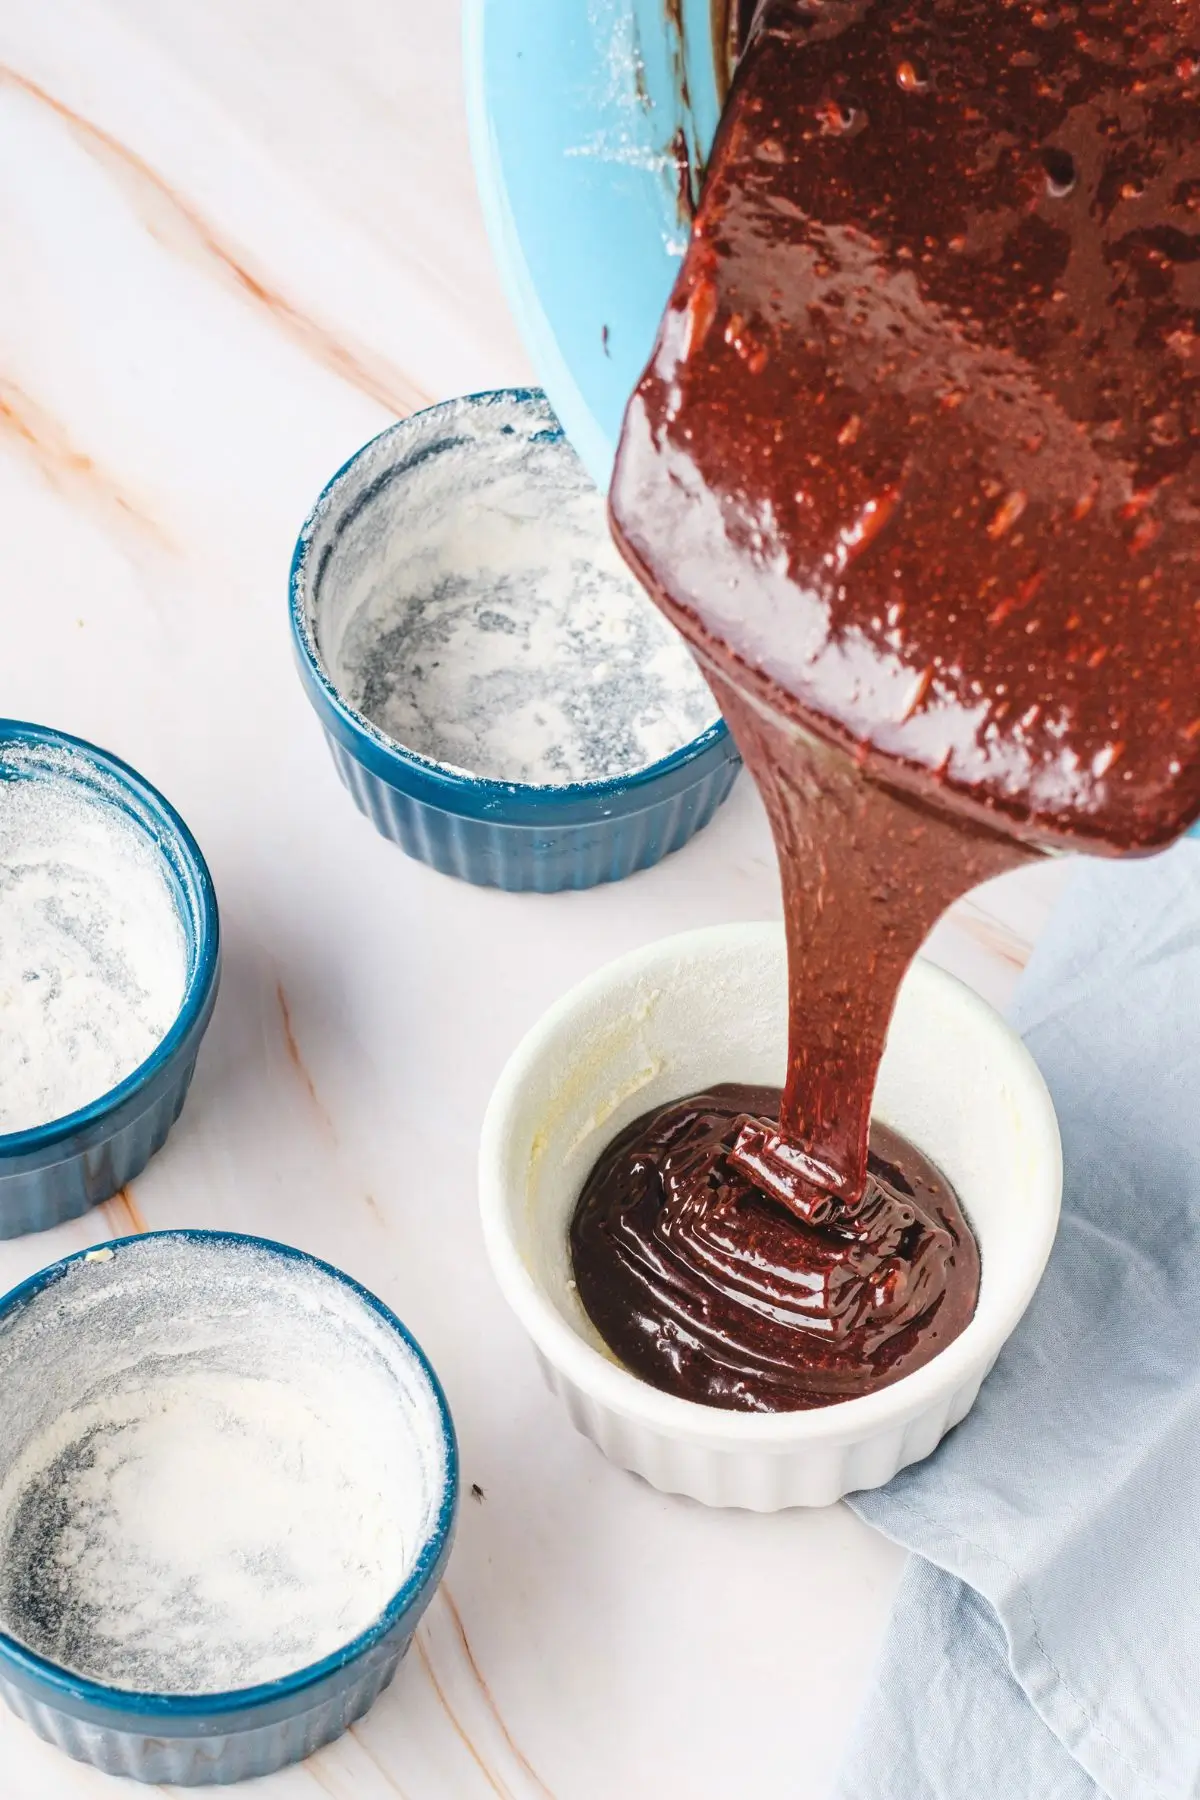
Spoon the batter evenly into the prepared ramekins. If you like, smooth the tops with a small offset spatula. Pop them in the fridge for 30 minutes to let the batter firm up.
Pro Tip: Got a piping bag? Use it to fill the ramekins! It’s a neat trick for cleaner, more even batter distribution—no mess, no stress
Step 6: Bake the Cakes
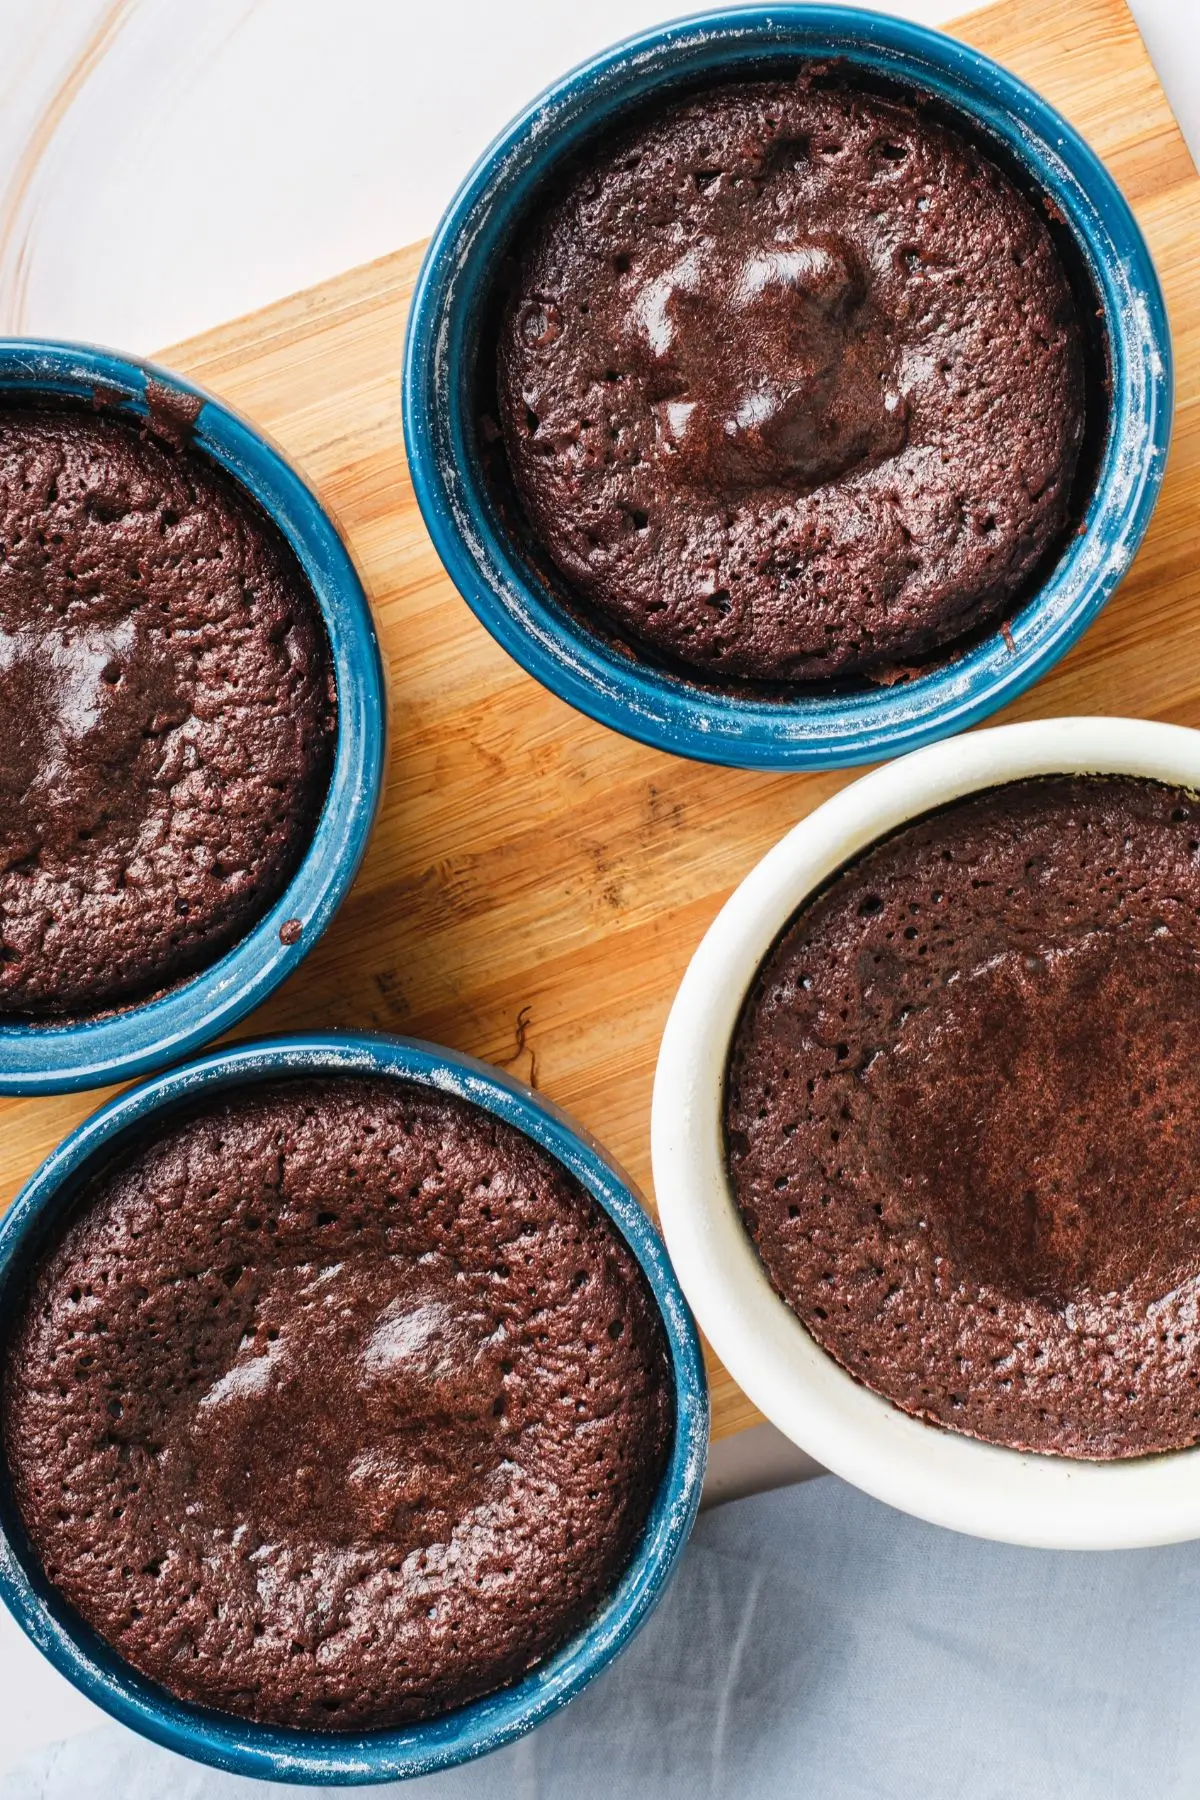
Take the baking sheet with the chilled ramekins straight from the fridge to your preheated oven. Bake for about 15 minutes, or until the tops are just set, the edges spring back when touched, and the centers still feel soft.
Pro Tip: Watch these beauties closely near the end. The edges should be set, but the center should jiggle slightly when you give the ramekin a gentle shake—that’s your cue for perfect molten goodness.
Step 7: Cool and Unmold
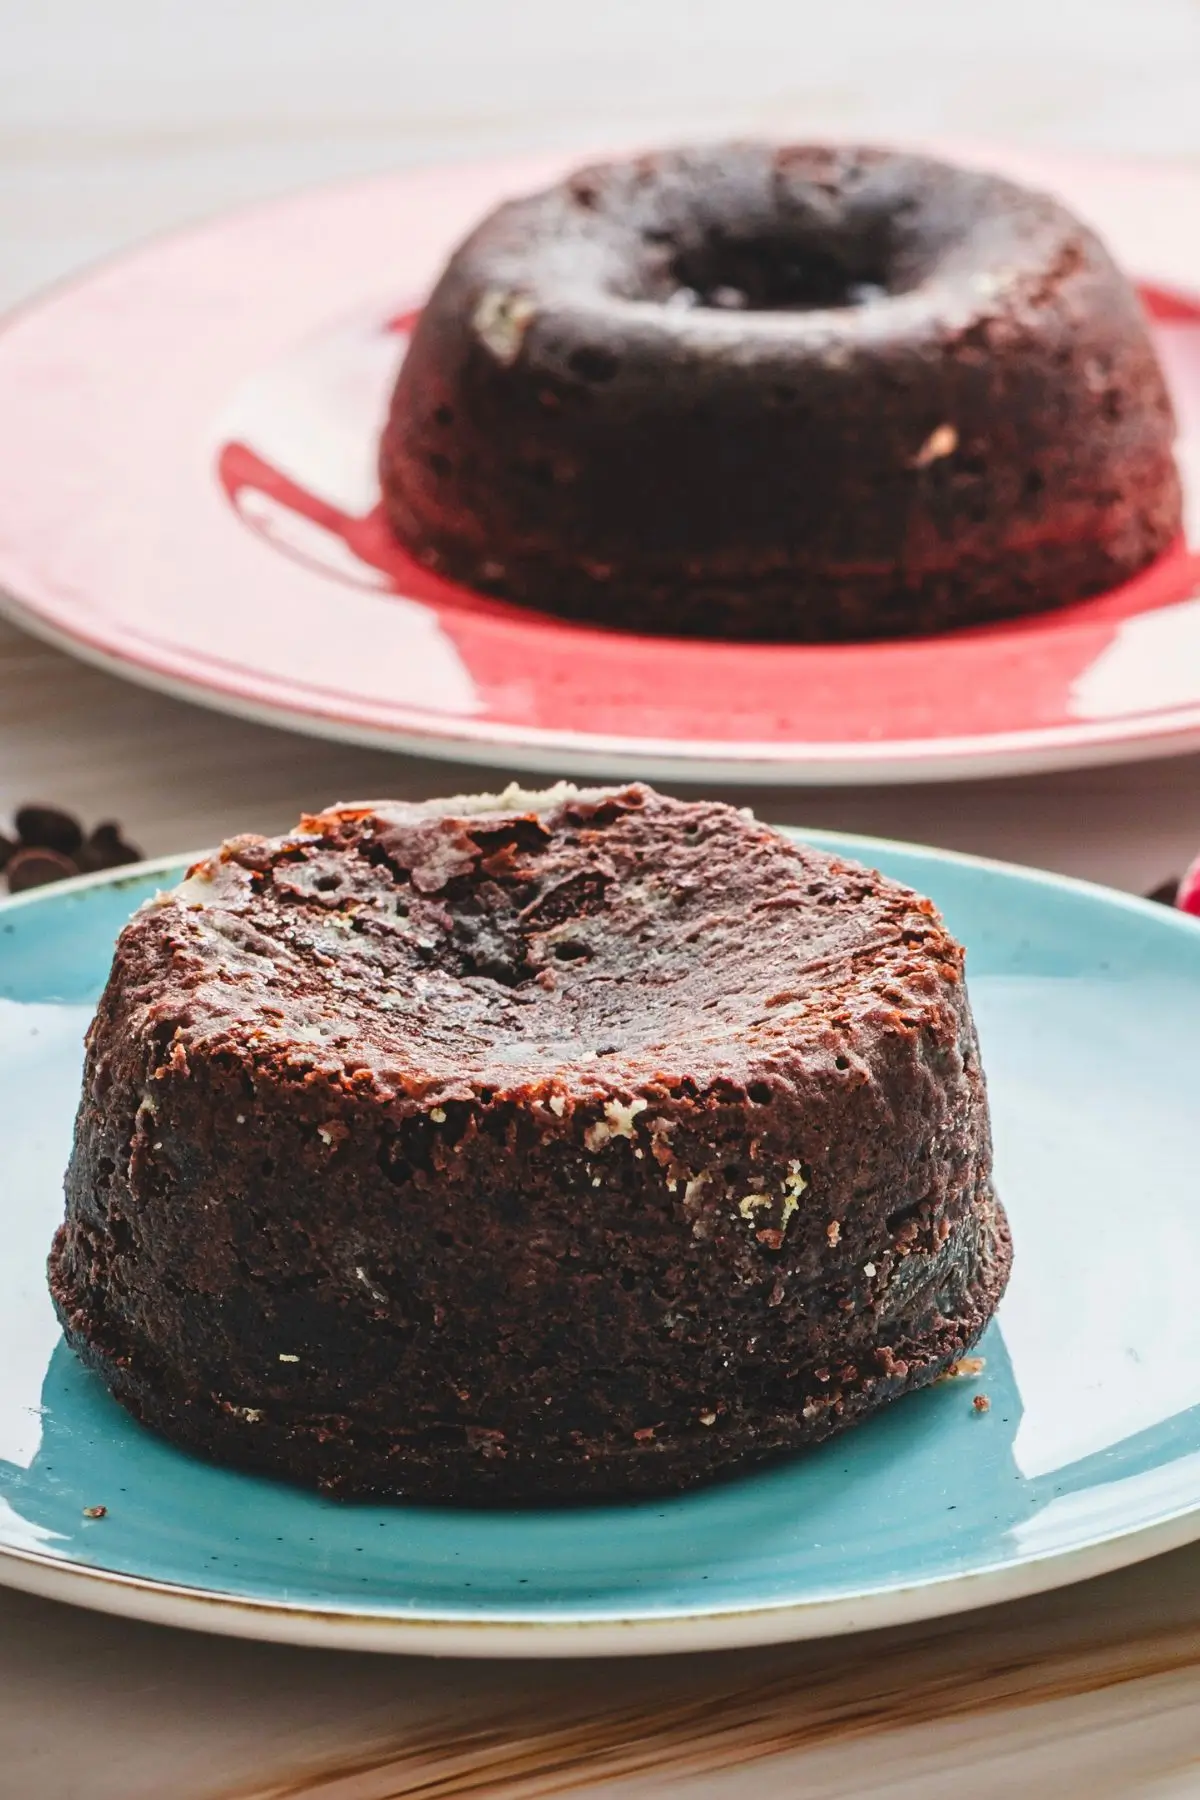
Pull the cakes from the oven adn let them cool in their ramekins on the baking sheet for about 5 minutes. One by one, cover each ramekin with an inverted dessert plate, flip it over carefully, and let it sit for 10 seconds before lifting the ramekin off to reveal your masterpiece.
Pro Tip: If a cake sticks, don’t panic! Just run a thin knife around the edge of the ramekin before flipping—it’ll pop right out.
Toppings & Serving Suggestions
Serving
- Serve these molten lava cakes warm to enjoy that irresistible gooey center!
Toppings suggestions
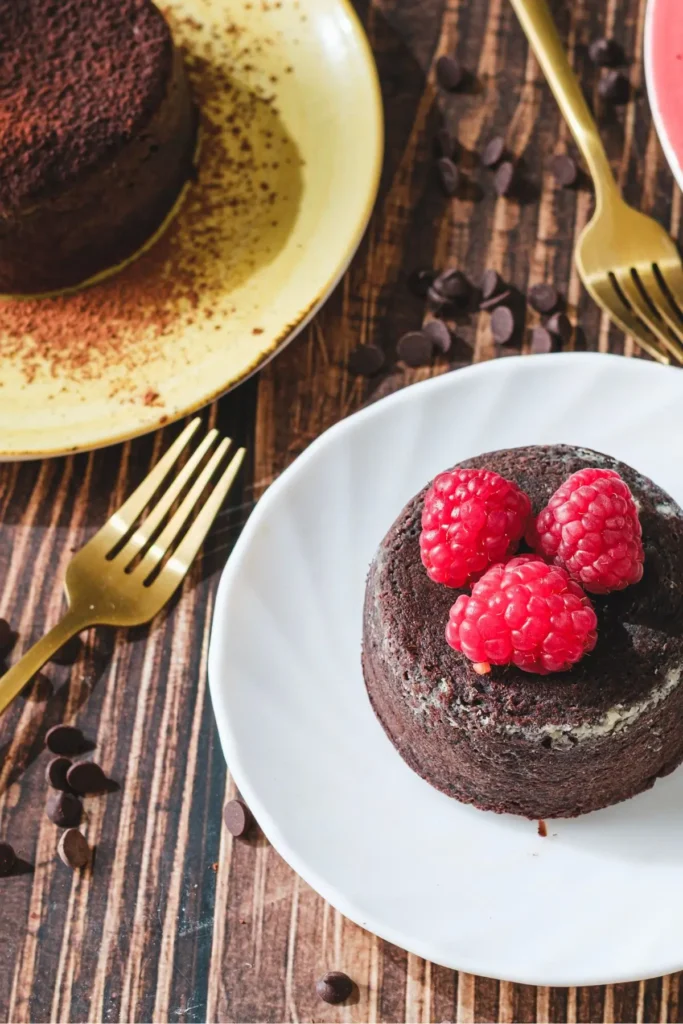
- fresh berries,
- a scoop of vanilla ice cream,
- a dusting of powdered sugar,
- or a dollop of whipped cream.
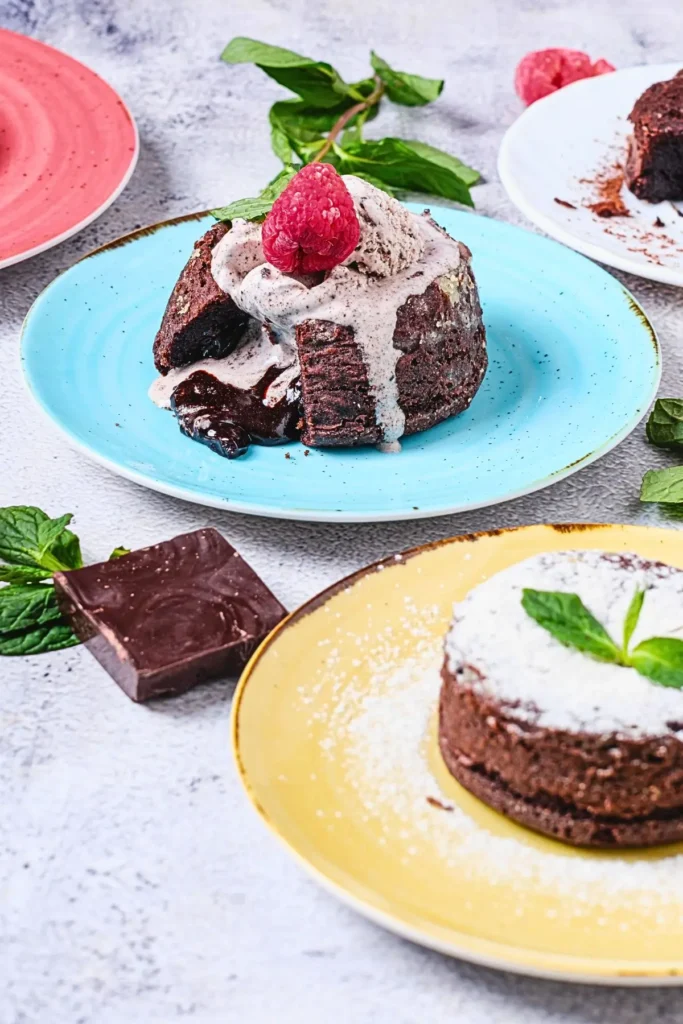
My personal go-to? A scoop of vanilla ice cream with a tiny sprinkle of sea salt. The warm cake against the cold ice cream is pure heaven—trust me, you’ll love it!
This is just one of the best desserts you can make, trust me! And if you need more ideas, I am sure you would like my collection of my top desserts
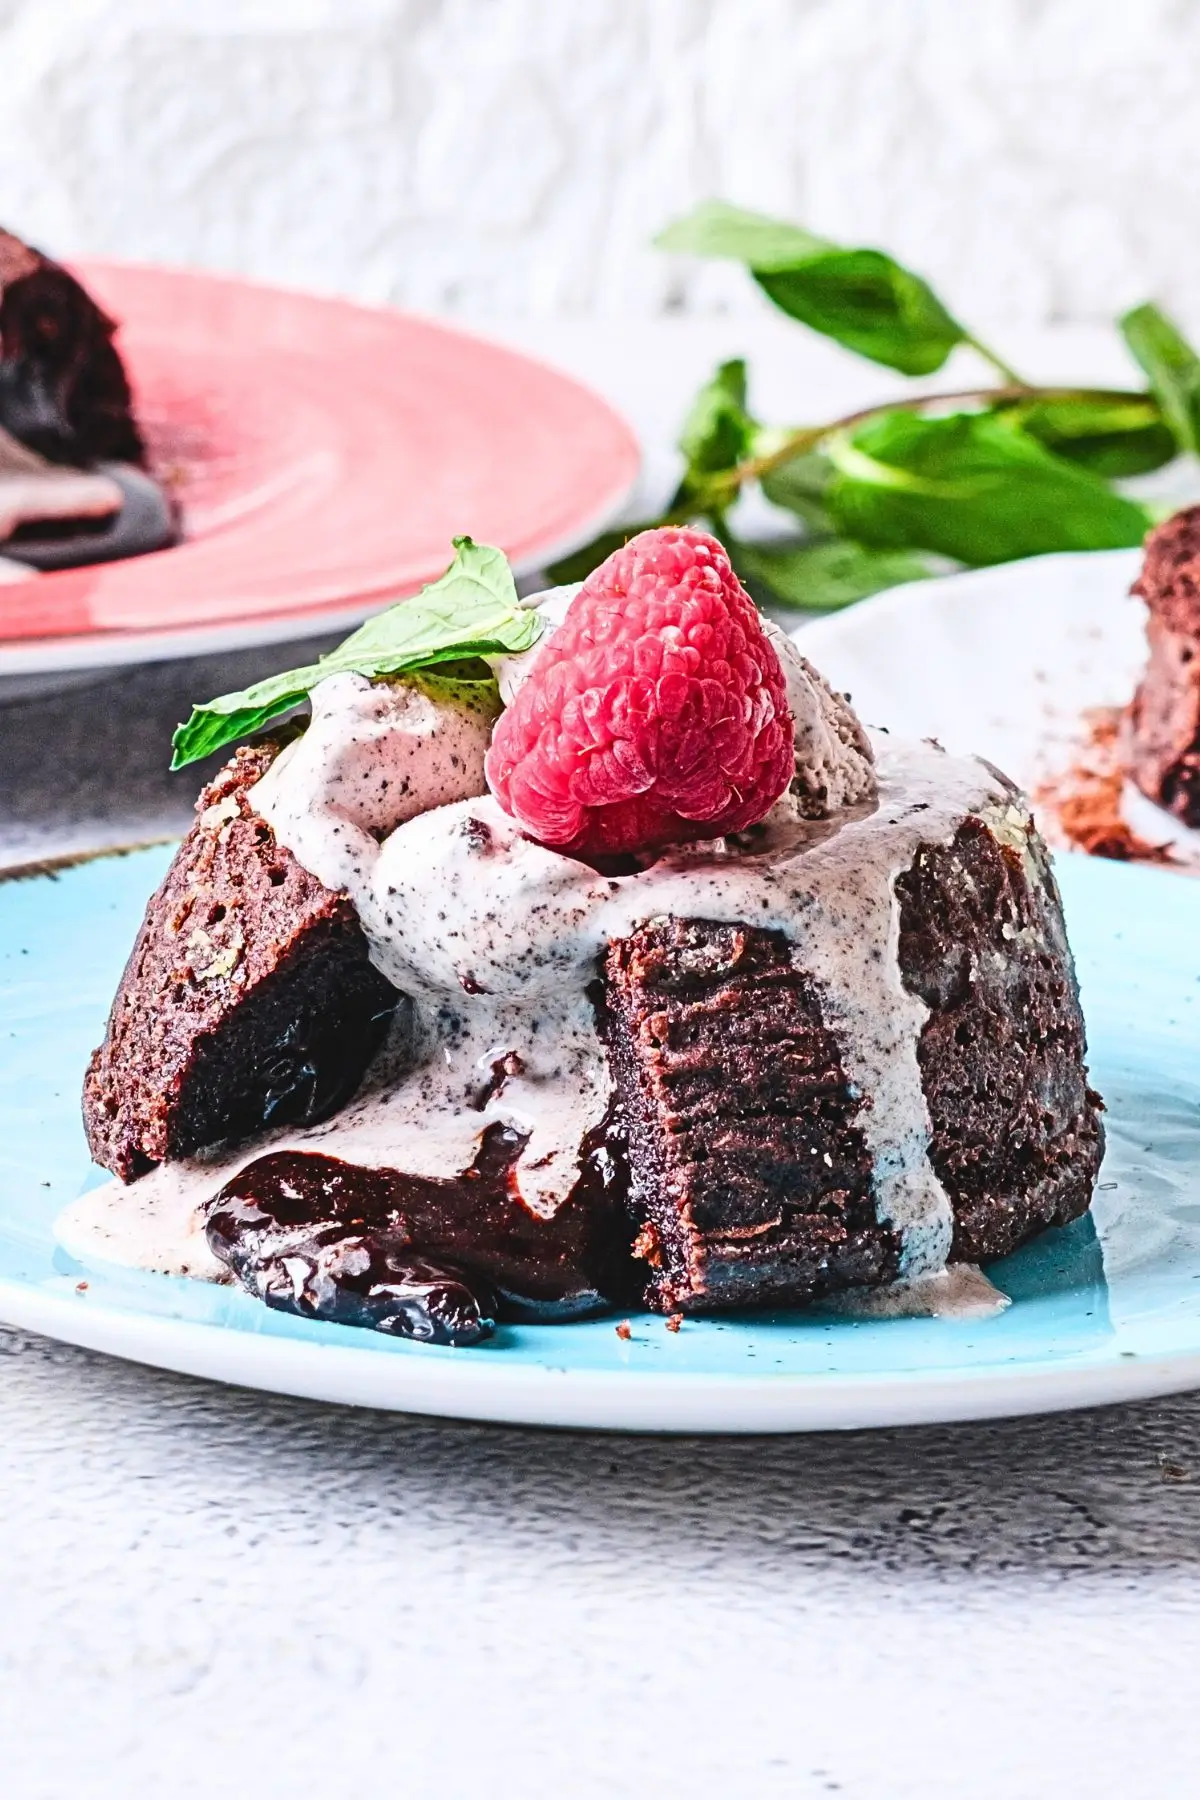
This Molten Lava Chocolate Cake is decadence in every bite, and the best part? It’s not as tricky as it looks!
With these simple steps and a handful of pro tips, you’re all set to nail it. So go for it,give this a try and savor every delicious, molten moment. You deserve it!
too busy to make it?
pin it for later to your favorite pinterest board
Molten Lava Chocolate Cake
Equipment
Ingredients
- 4 oz unsalted butter plus extra for greasing ramekins
- 2 tablespoons all-purpose flour plus extra for dusting ramekins
- 6 oz dark chocolate use good-quality, like 70% cocoa
- 2 large eggs room temperature
- 2 large egg yolks room temperature
- ¼ cup granulated sugar
- ¼ teaspoon salt
Instructions
Prepare Ramekins:
- Preheat oven to 450°F (230°C). Butter four 6-ounce ramekins well and dust with flour. Tap out extra flour. Place ramekins on a baking sheet.
- Pro Tip: Butter and flour the ramekins well to make unmolding easy—no stuck cakes!
Melt Chocolate and Butter:
- In a microwave-safe bowl, combine butter and chocolate. Microwave, stirring every 10 seconds, until smooth (about 20 seconds total). Let cool slightly.
- Pro Tip: Use high-quality dark chocolate (70% cocoa or more) for the best flavor.
Beat Eggs and Sugar:
- In a medium bowl, use an electric mixer (or hand mixer) to beat eggs, egg yolks, sugar, and salt on high speed until thick and pale (2–3 minutes with electric mixer, or 7 minutes by hand).
- Pro Tip: Beat the eggs and sugar until they’re thick and pale for a light, airy texture.
Mix Everything:
- Gently fold the melted chocolate into the egg mixture. Add flour and mix until no streaks remain.
- Pro Tip: Fold gently when mixing to keep the batter fluffy. Don’t overmix!
Fill Ramekins:
- Spoon batter evenly into ramekins. Smooth tops with a spoon or small offset spatula (optional). Chill in the fridge for 30 minutes.
- Pro Tip: Try a piping bag to fill ramekins for less mess (optional).
Bake:
- Place the baking sheet with ramekins in the oven straight from the fridge. Bake for 15 minutes, until edges are set but centers are soft and jiggly.
- Pro Tip: Check cakes near the end—centers should jiggle slightly for that perfect molten center.
Cool and Unmold:
- Let cakes cool in ramekins for 5 minutes. Cover each ramekin with a dessert plate, flip carefully, and wait 10 seconds before lifting off the ramekin.
- Pro Tip: If a cake sticks, run a thin knife around the edge before flipping.

